
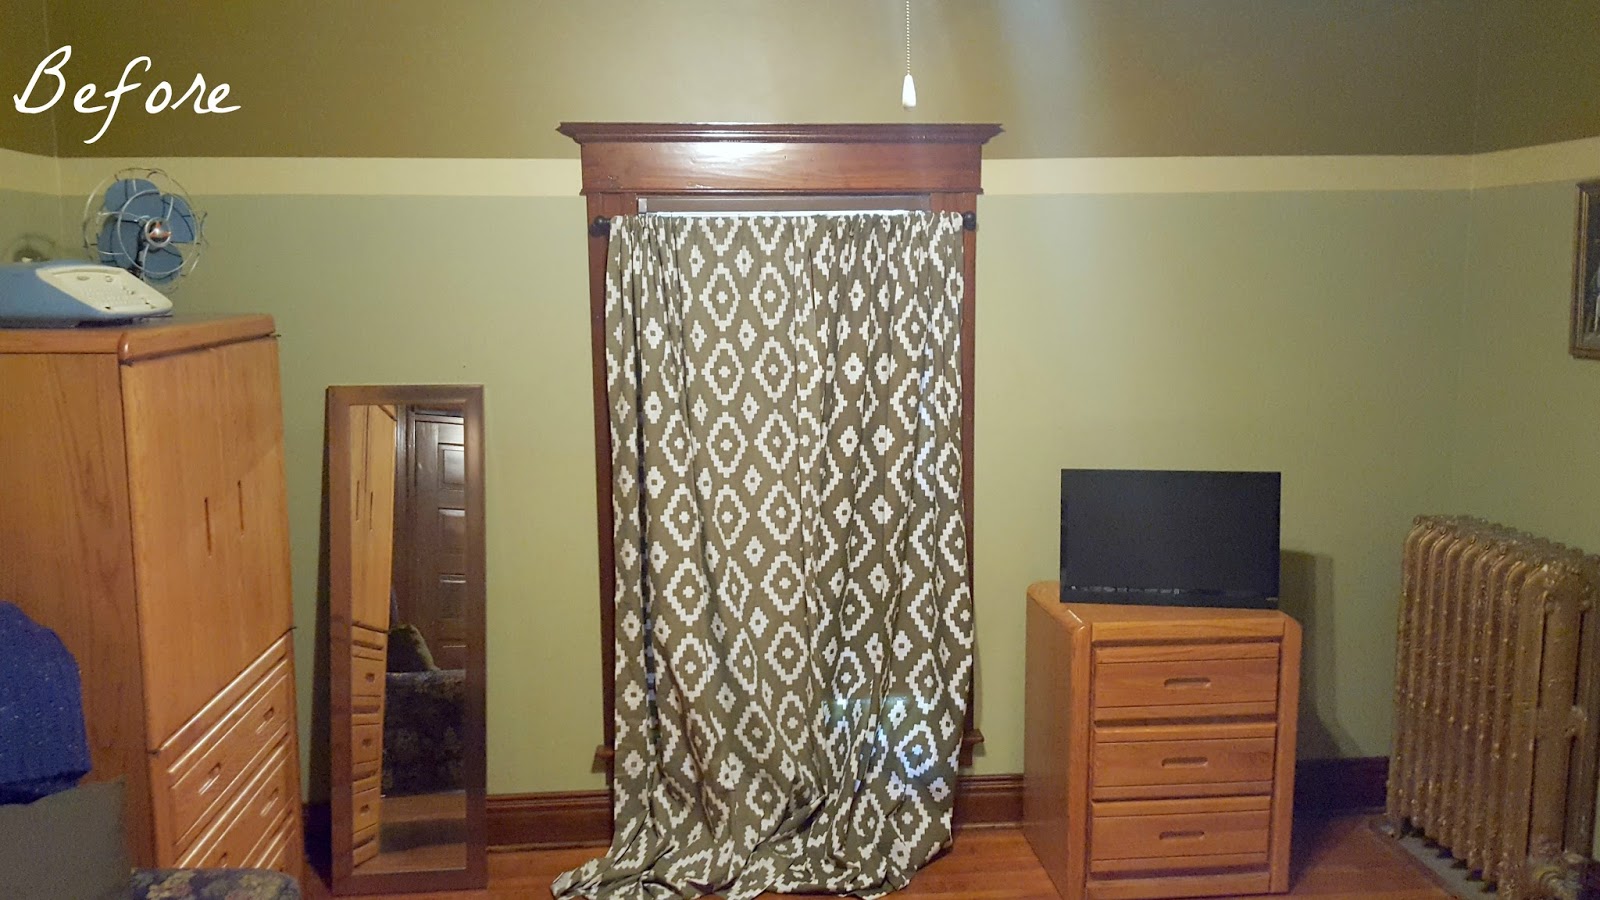
Our beautiful old house as thrown a few design challenges my way. I recently tackled one of them. We had some company a couple weekends ago, and I really wanted to spruce the guest room up into something comfortable. Most of it was easy: fresh bedding, some vintage decor, a pretty new lamp, and patterned curtains. But those curtains - in fact, all the curtains upstairs - have had me trippin'. Literally.
Even though our second floor has the exact same ten-foot ceilings as the main floor, the windows are positioned lower on the wall. So on the main floor, my standard 84" curtains hang a couple inches above the floor trim, which I'm okay with. But on the second floor, the same curtains sag about six inches. See what I mean about trippin'?
And now for a sobering confession from a do-it-herselfer: I can't sew. Like, I can mend things and I'm pretty sure I can still cross-stitch. But I never took a sewing class in school. I never seized the opportunity to learn from my mom while living at home. I just never got around to sewing. It wasn't appealing to me. Now, I wish I had the basic skills to work a sewing machine for things like curtains.
The thing is, though... I wasn't sure I wanted to have these curtains (or any curtains on my second floor) hemmed permanently. I switch things around a lot in my decor and who's to say I won't eventually want some of these curtains downstairs? Luckily, I discovered Erin Spain's solution on her blog.
And I ended up with a few rolls of this:
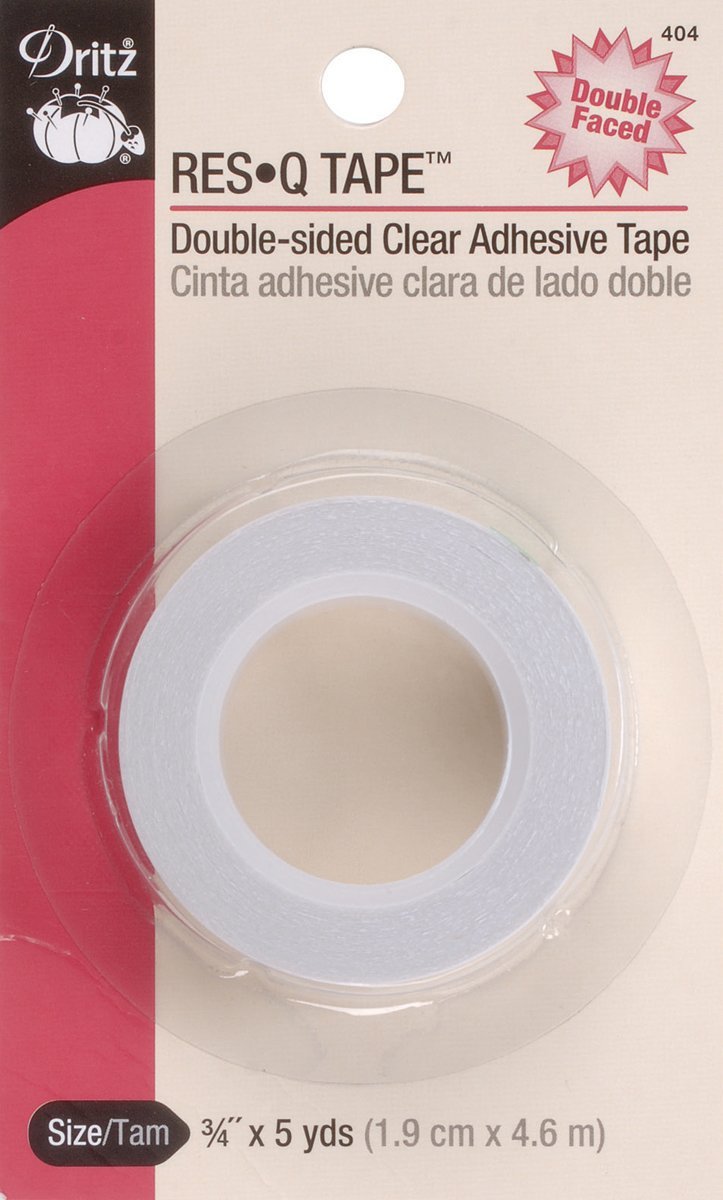
No ironing or needle/thread required.
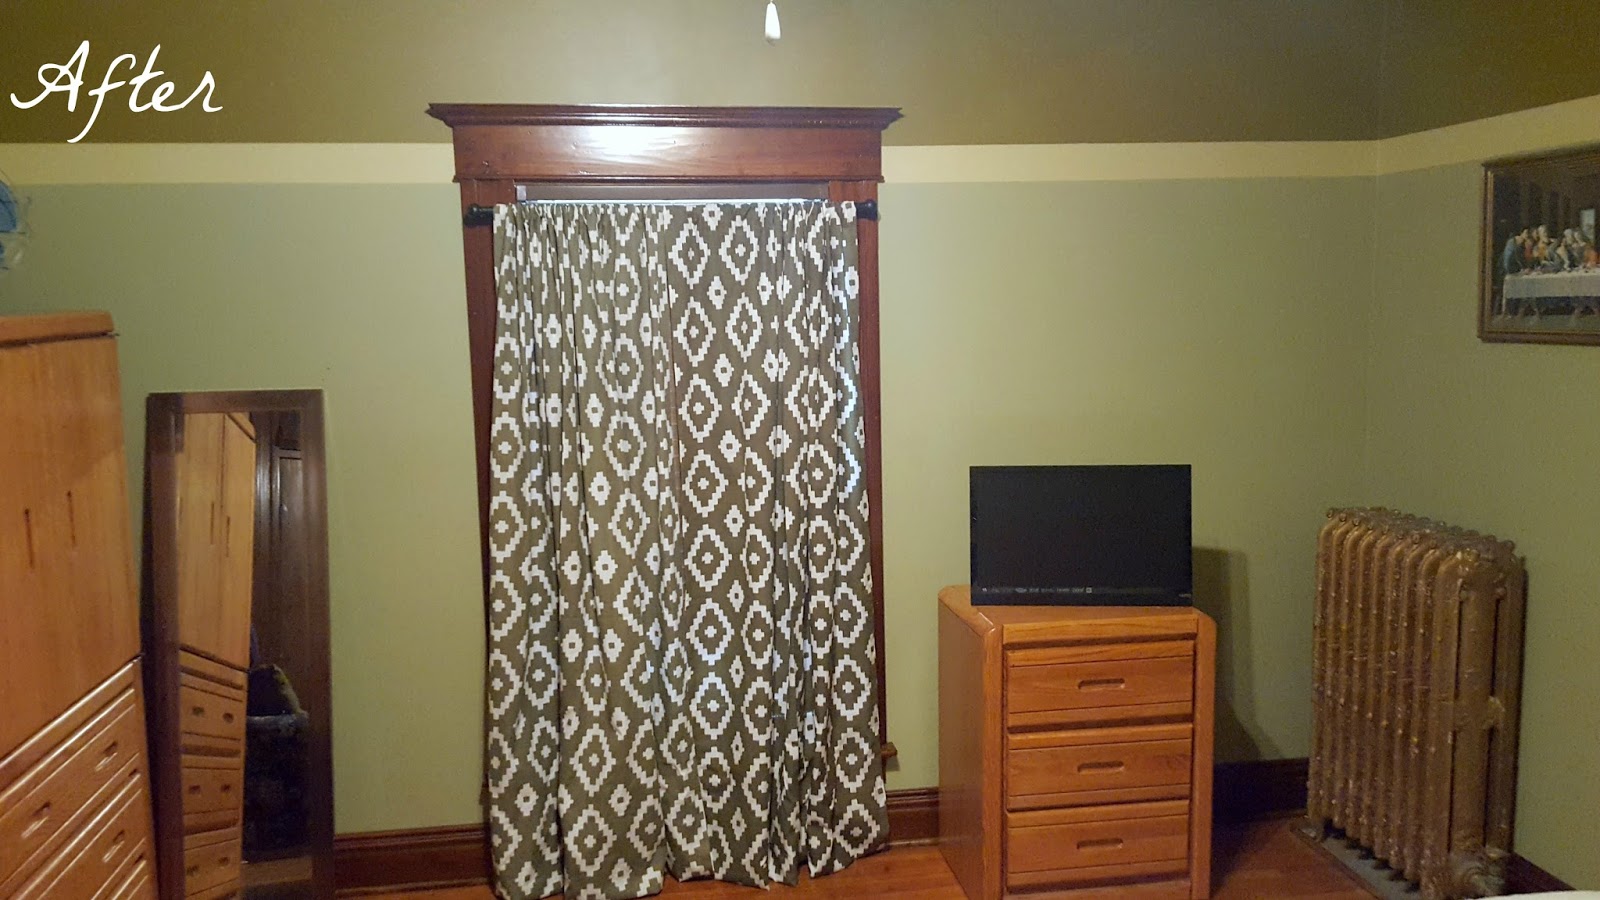
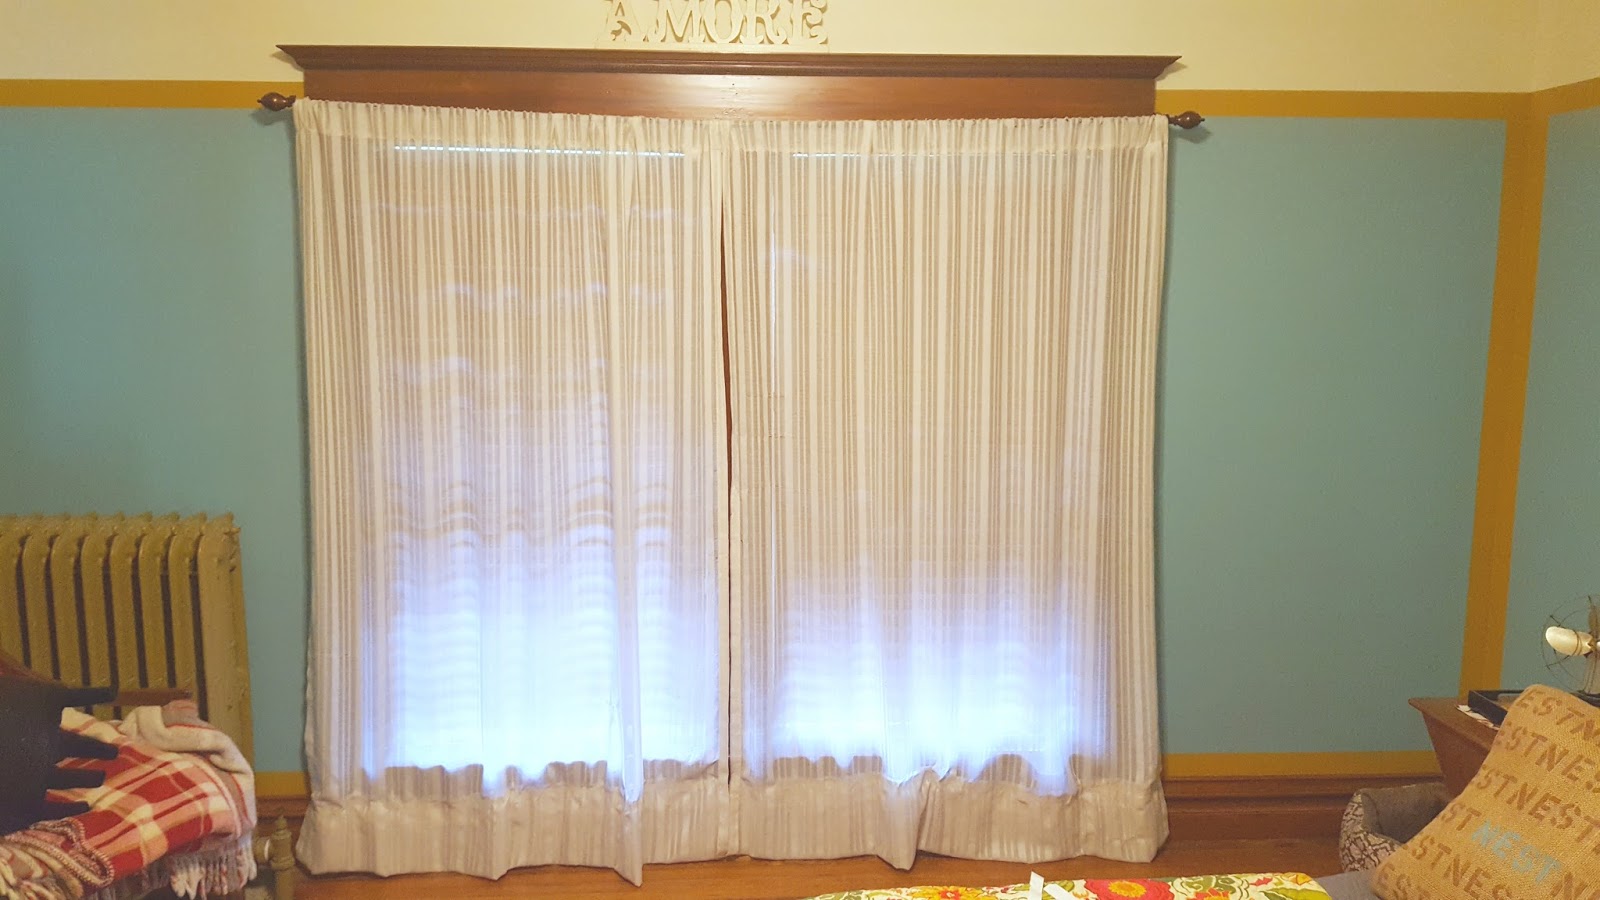
And here's what my curtains look like now!
It was fairly easy. I even did it without taking the curtains down from the rod. (Because I was feeling particularly lazy.) Basically you apply the tape along the edge, then stick it up on the back of the curtain so that you have your desired length. I pressed gently, then checked to see the length. That way, if it was too short or too long or awkwardly bunching in areas, I could easily un-stick and re-stick the tape. I did this a few times and it re-stuck just fine. Eventually, I got good and got the right length on the first try.
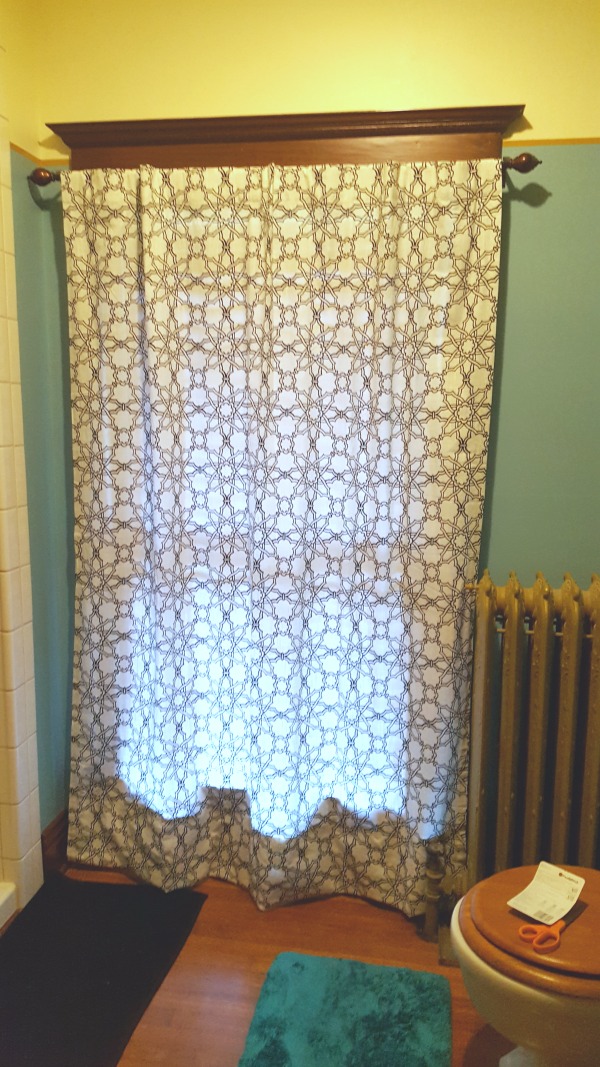
It was so easy and fast that I did it in our bathroom...
...and in our master bedroom, too!
It's such a little thing to take for granted: having curtains that don't sag on the floor. ;)
Comments