
Do-it-yourself multi-tasking desktop organizer. Now that's a mouthful. As part of my partnership with Apartment Guide for the Lost & Found: Do You Know Where Your Things Are? Blogger Program, I was assigned a mission to create a rental-friendly organization project. I got to thinking about what organization challenges I faced myself. Much of it came down to paper: magazines, documents, homework, cards, craft scraps, etc. Paper piles up on the desk and other surfaces. So I wanted a way---well, a pretty way---to organize it.
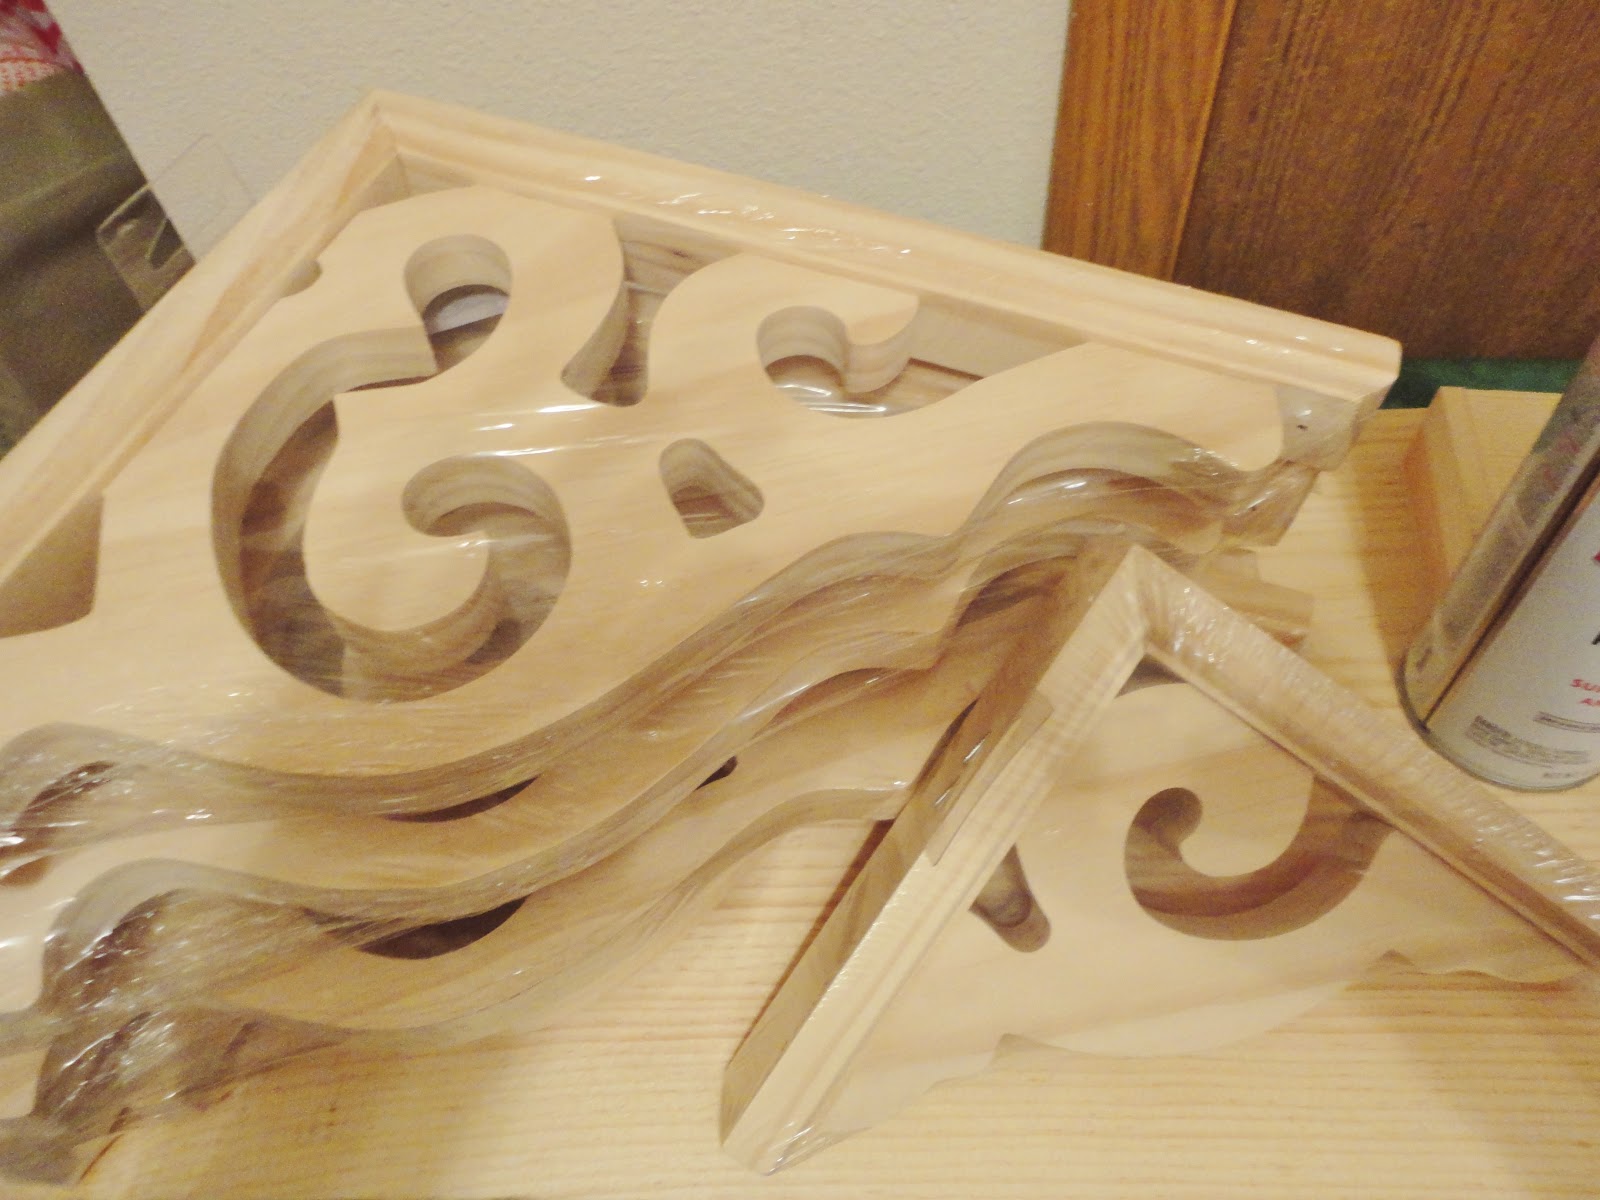
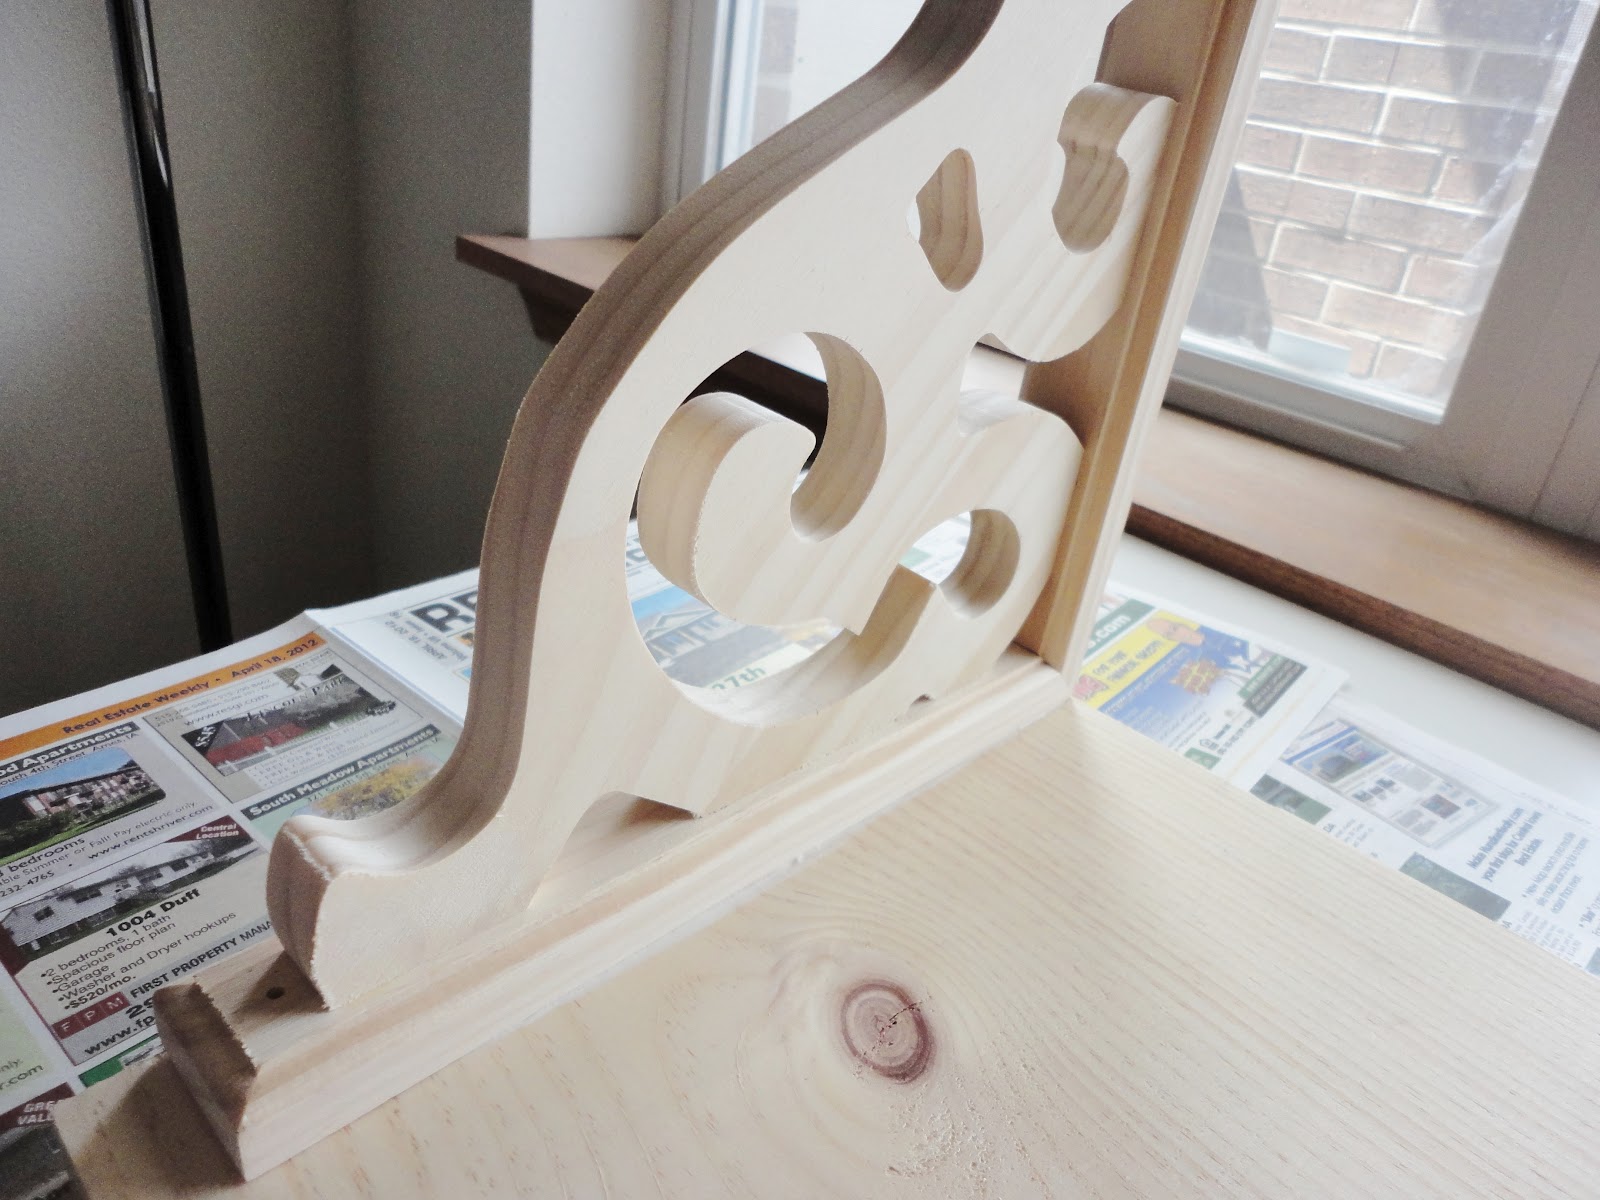
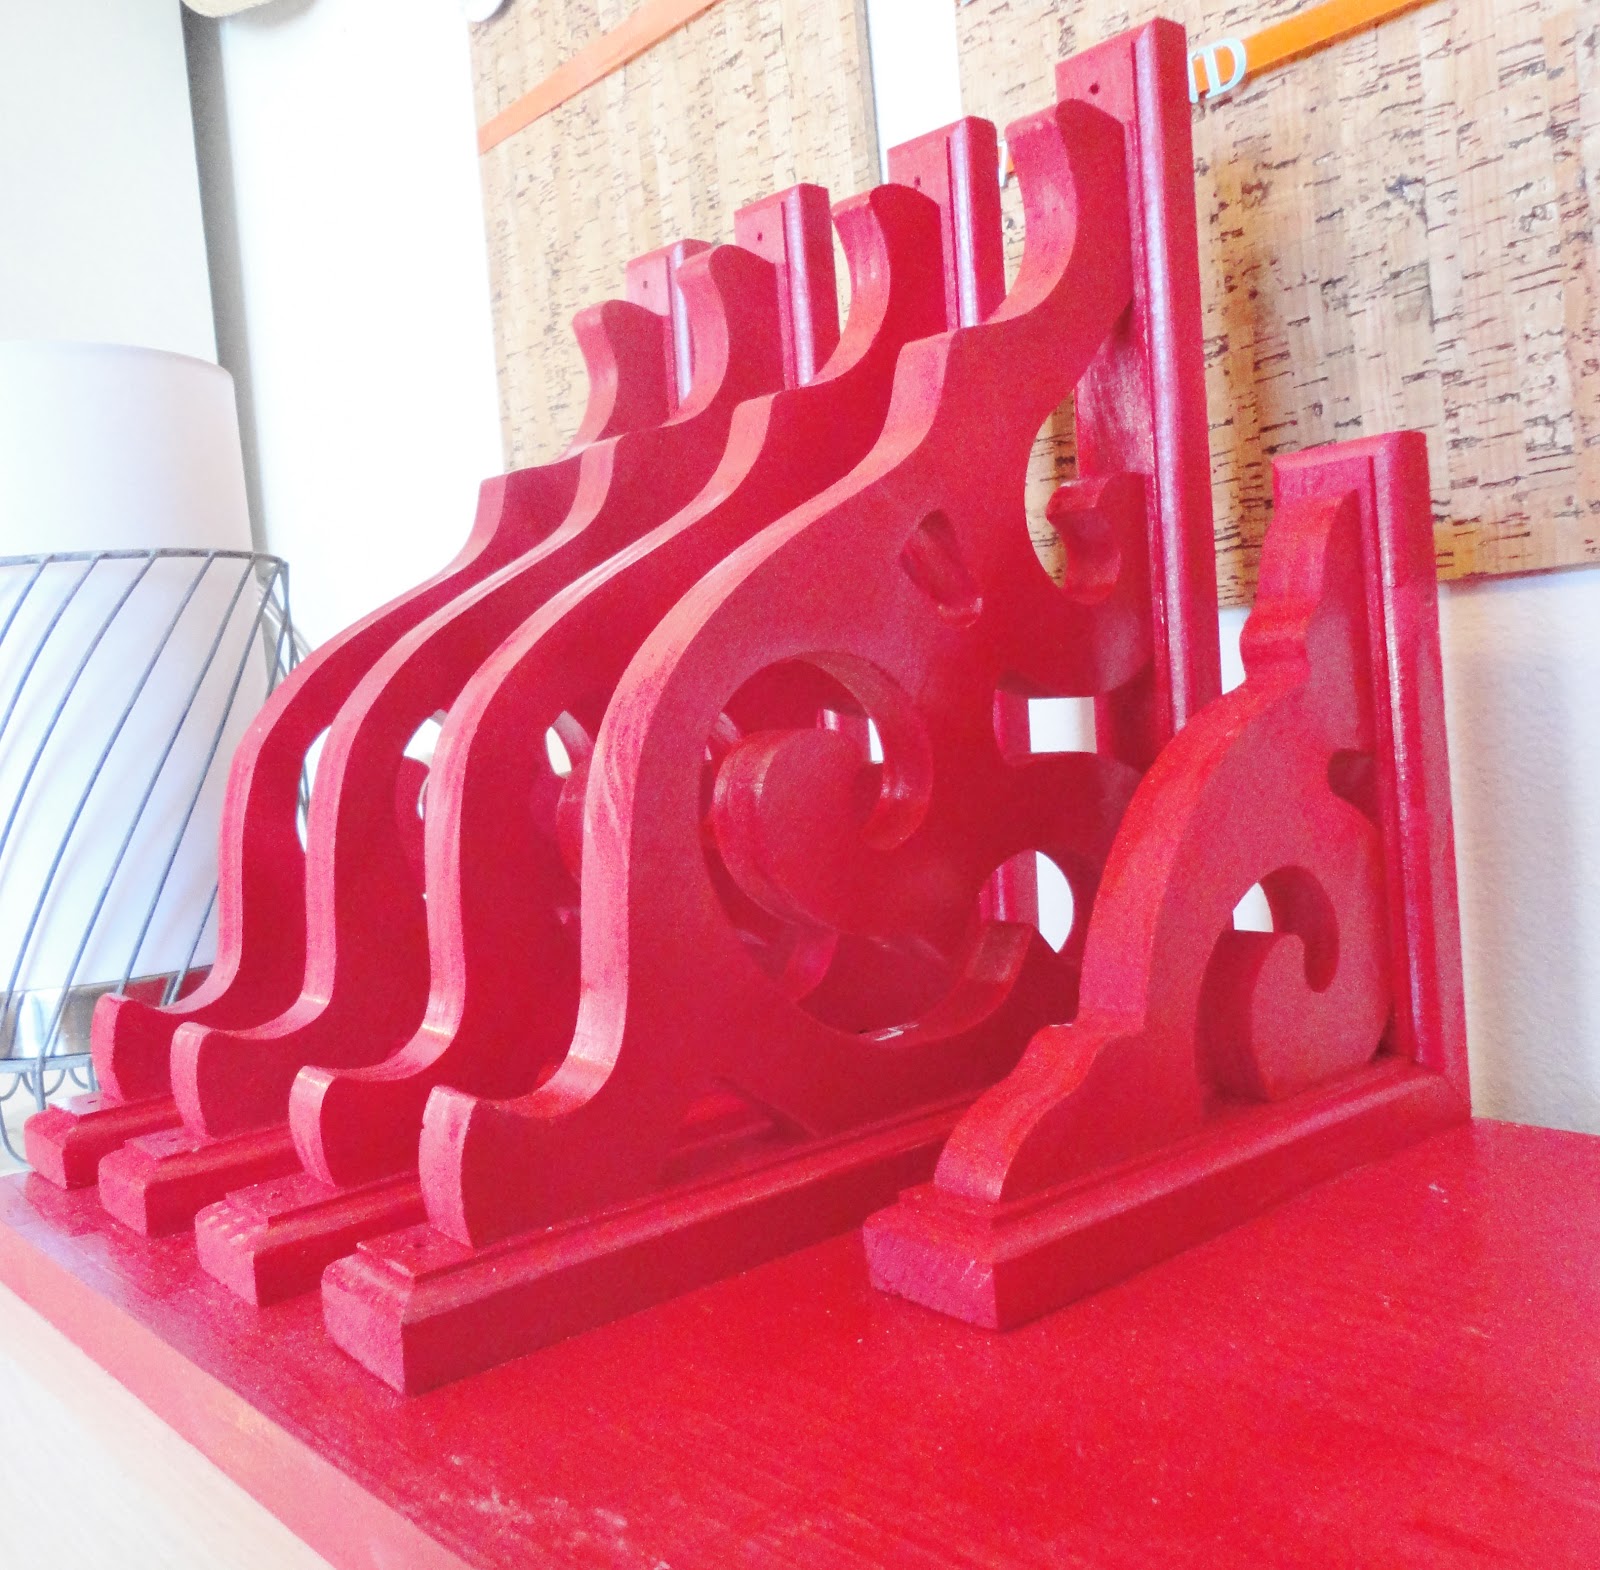
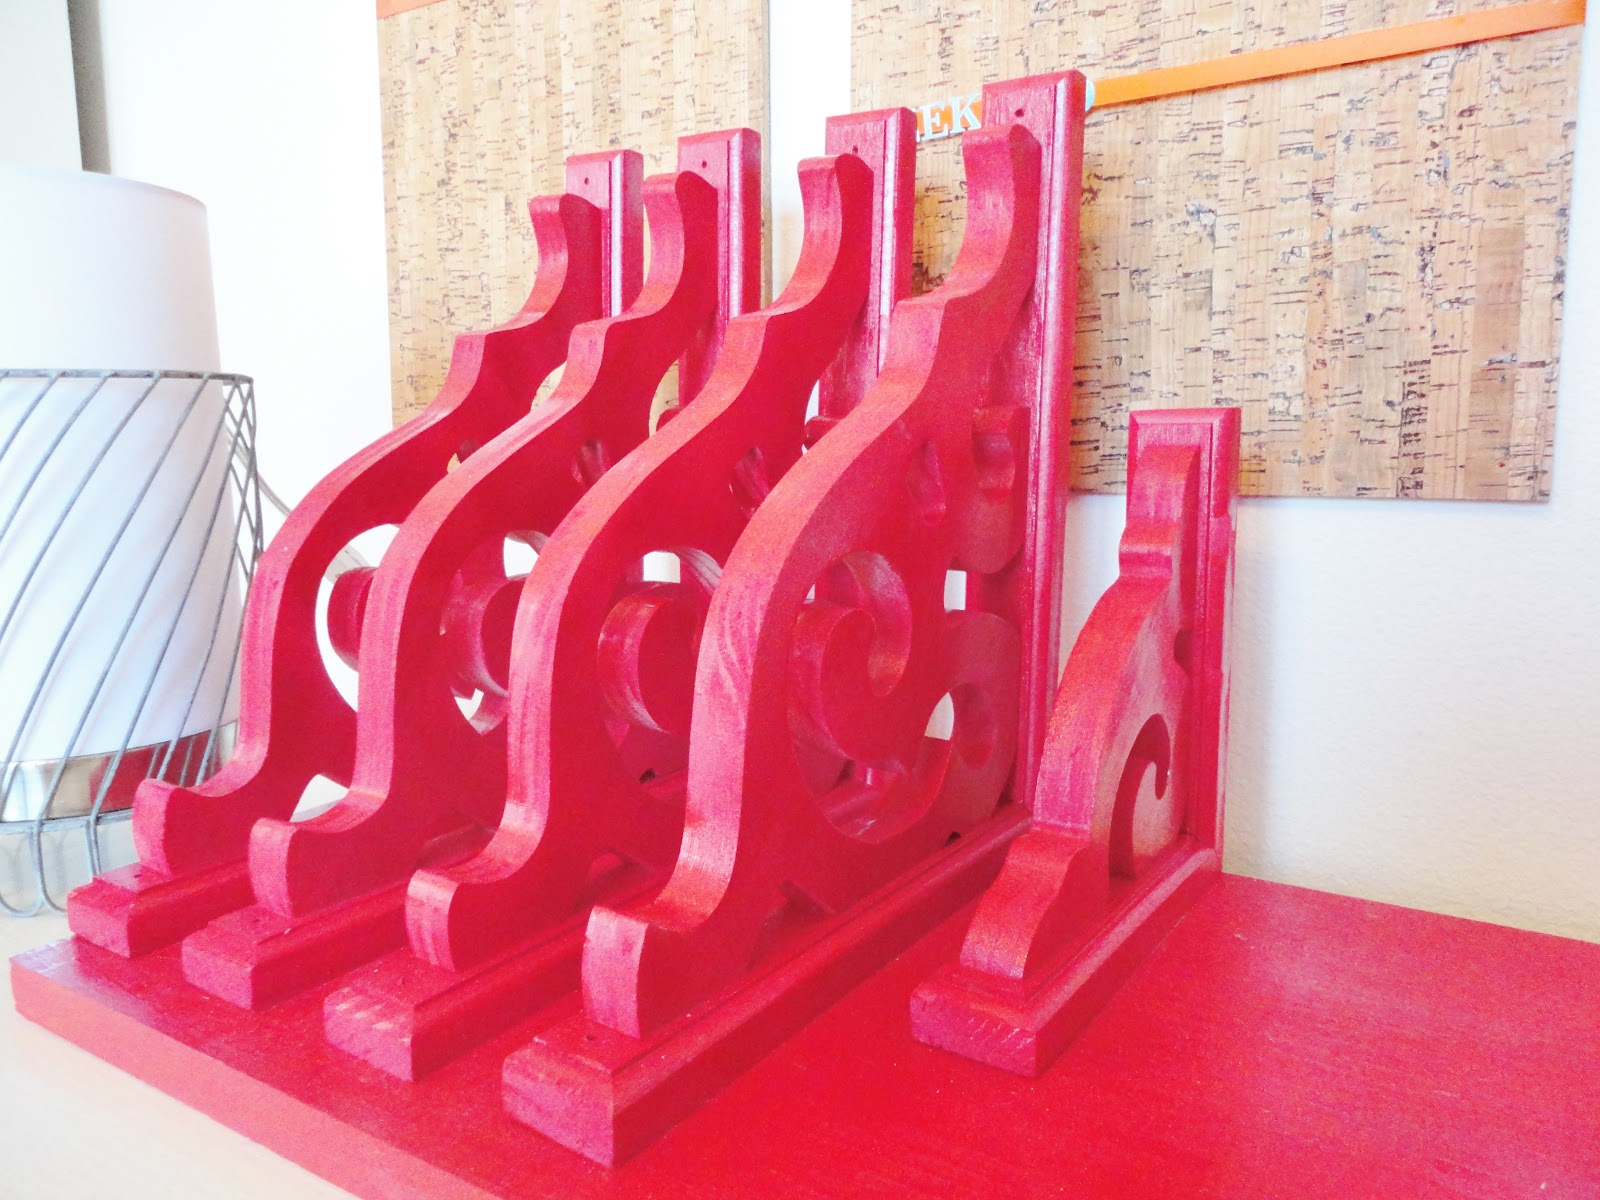
For this project you'll need: a piece of wood cut down to size (I went with one about an inch thick, foot deep, and had a nice man at Lowe's cut it down to about two and a half feet long) $6, architectural wood corbels $12/each. I went with four large corbels and a smaller one.
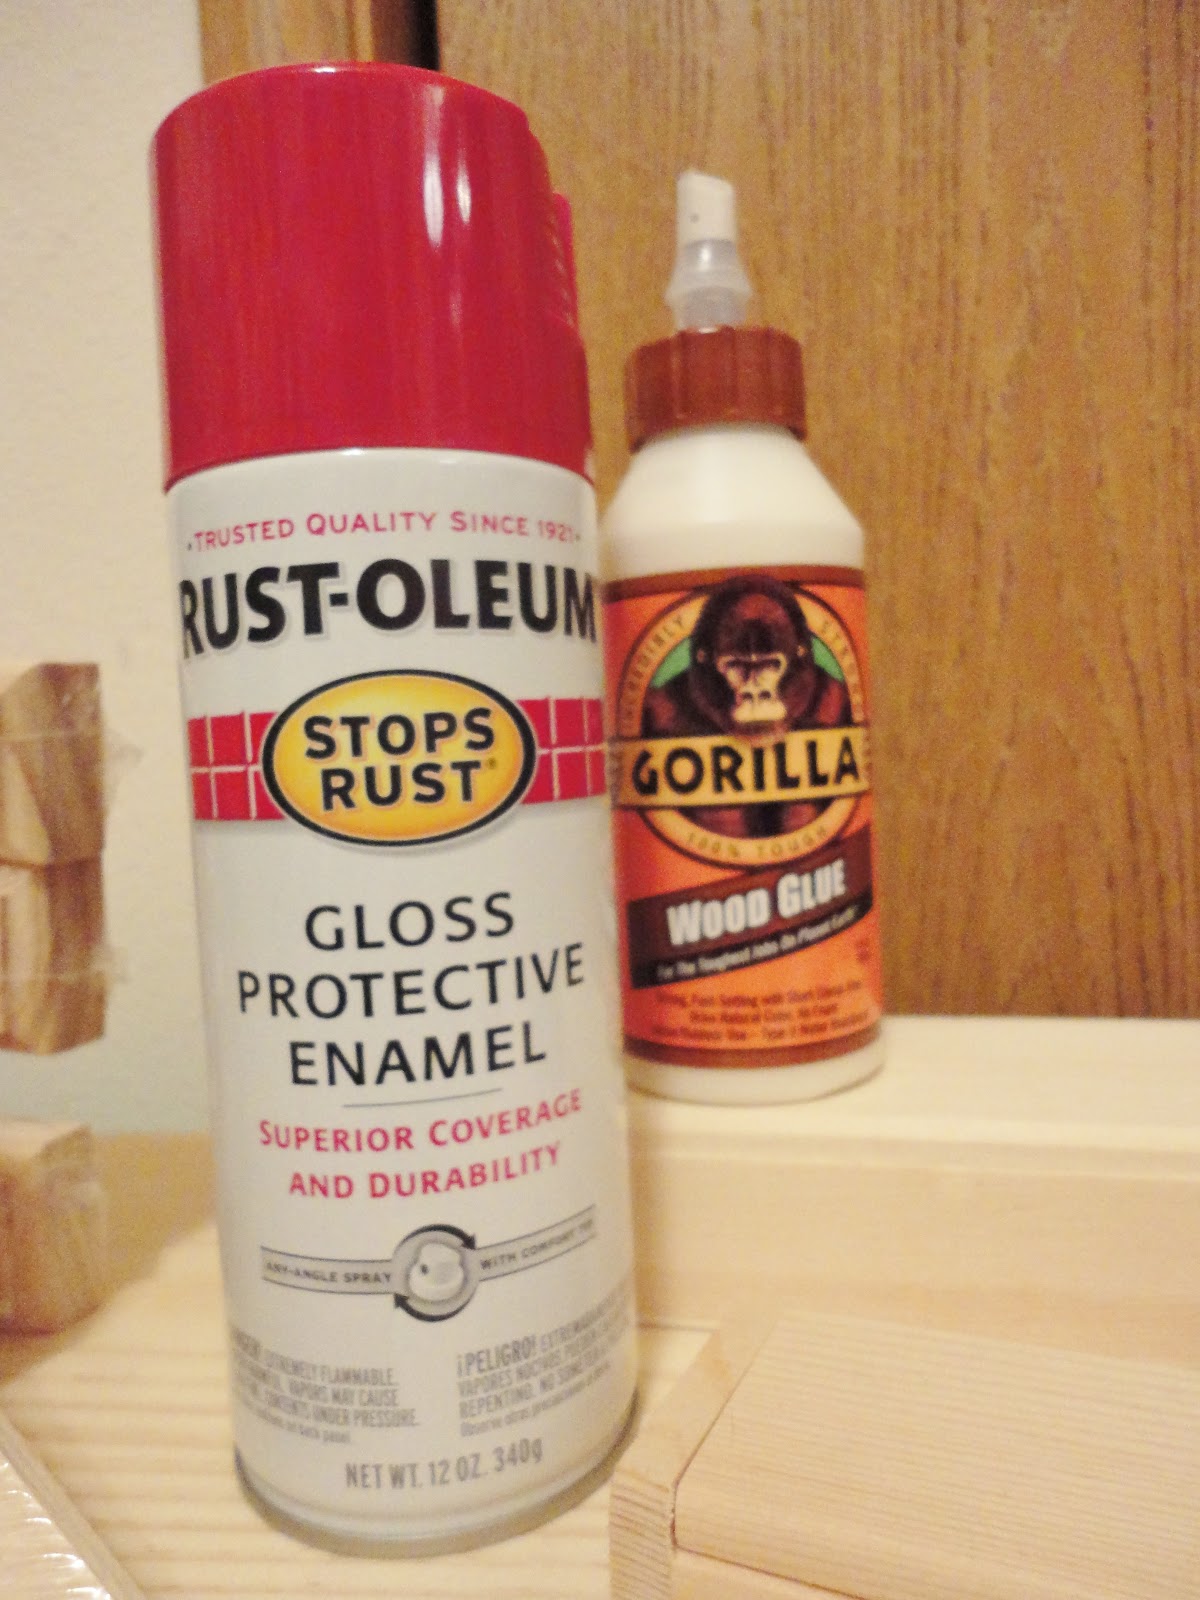
Also pick out a can of spraypaint (Rust-Oleum's red is my all-time fave, I use it on everything) $4 and wood glue $6. For the wood glue, I went with Gorilla Glue brand because it seemed like the easiest for a wood-glue-nube like me to use.
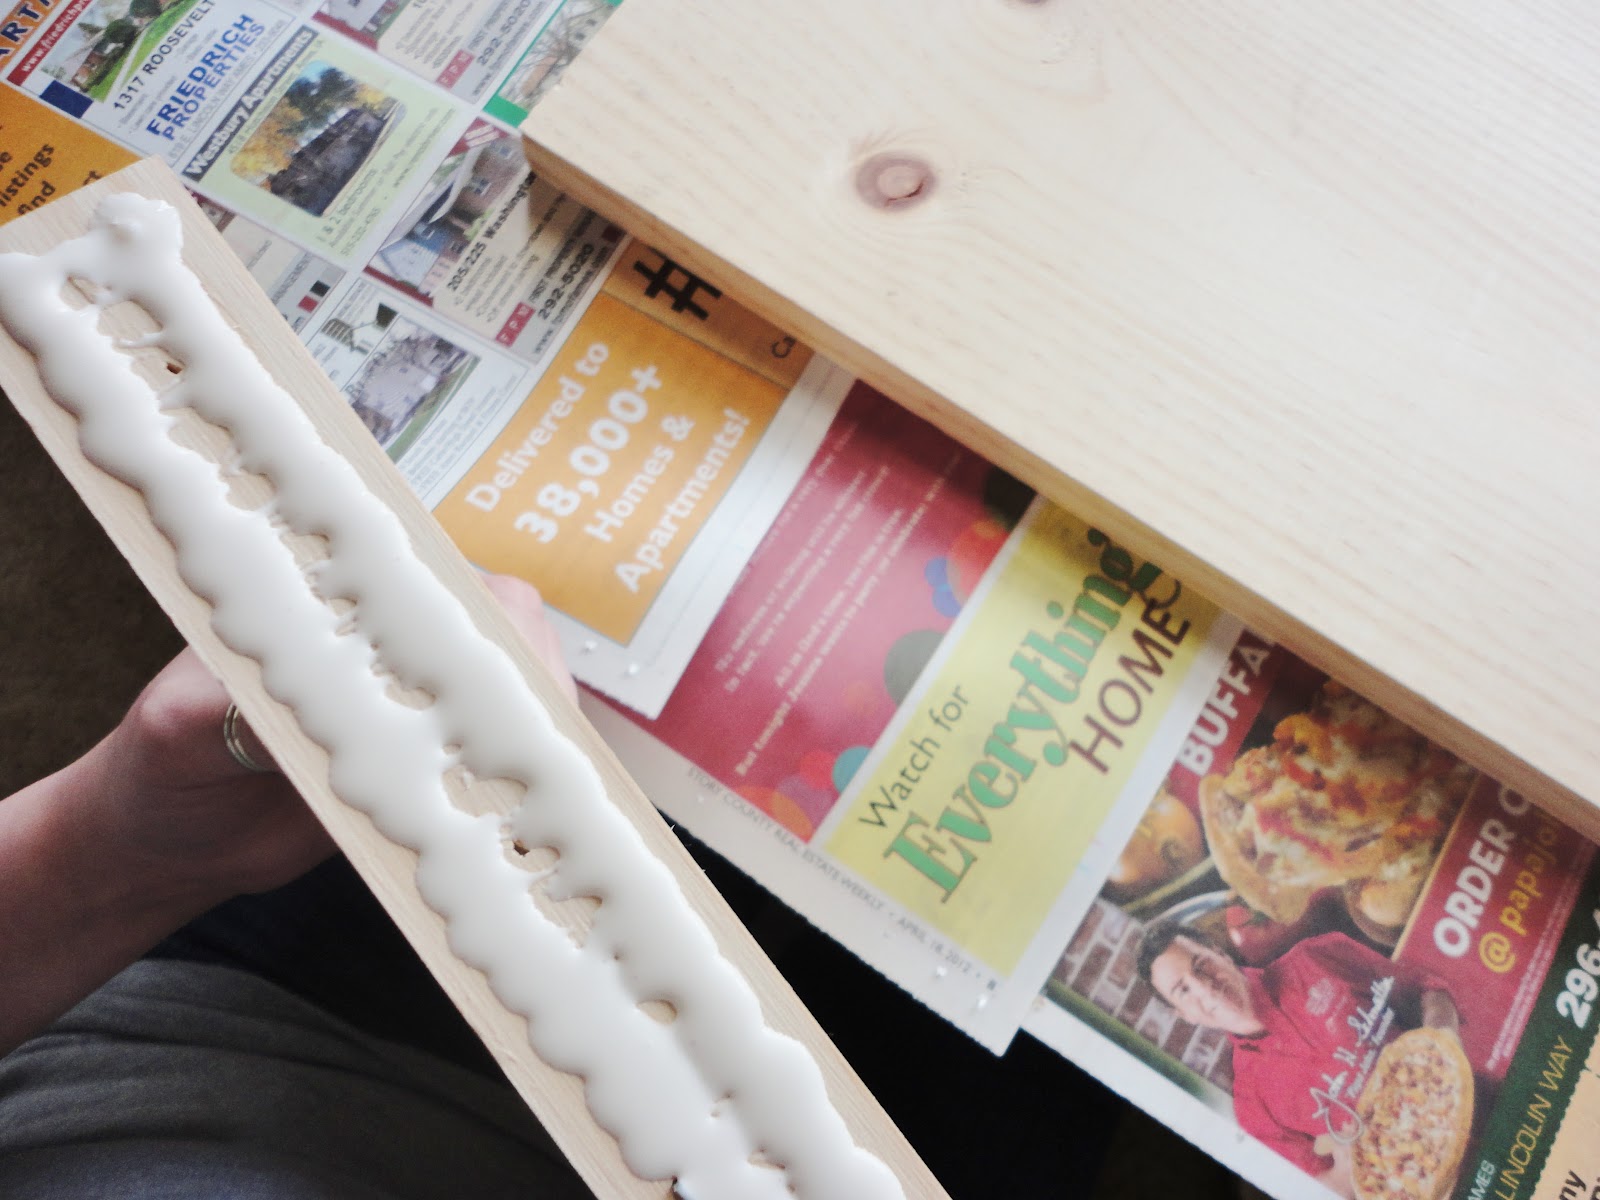
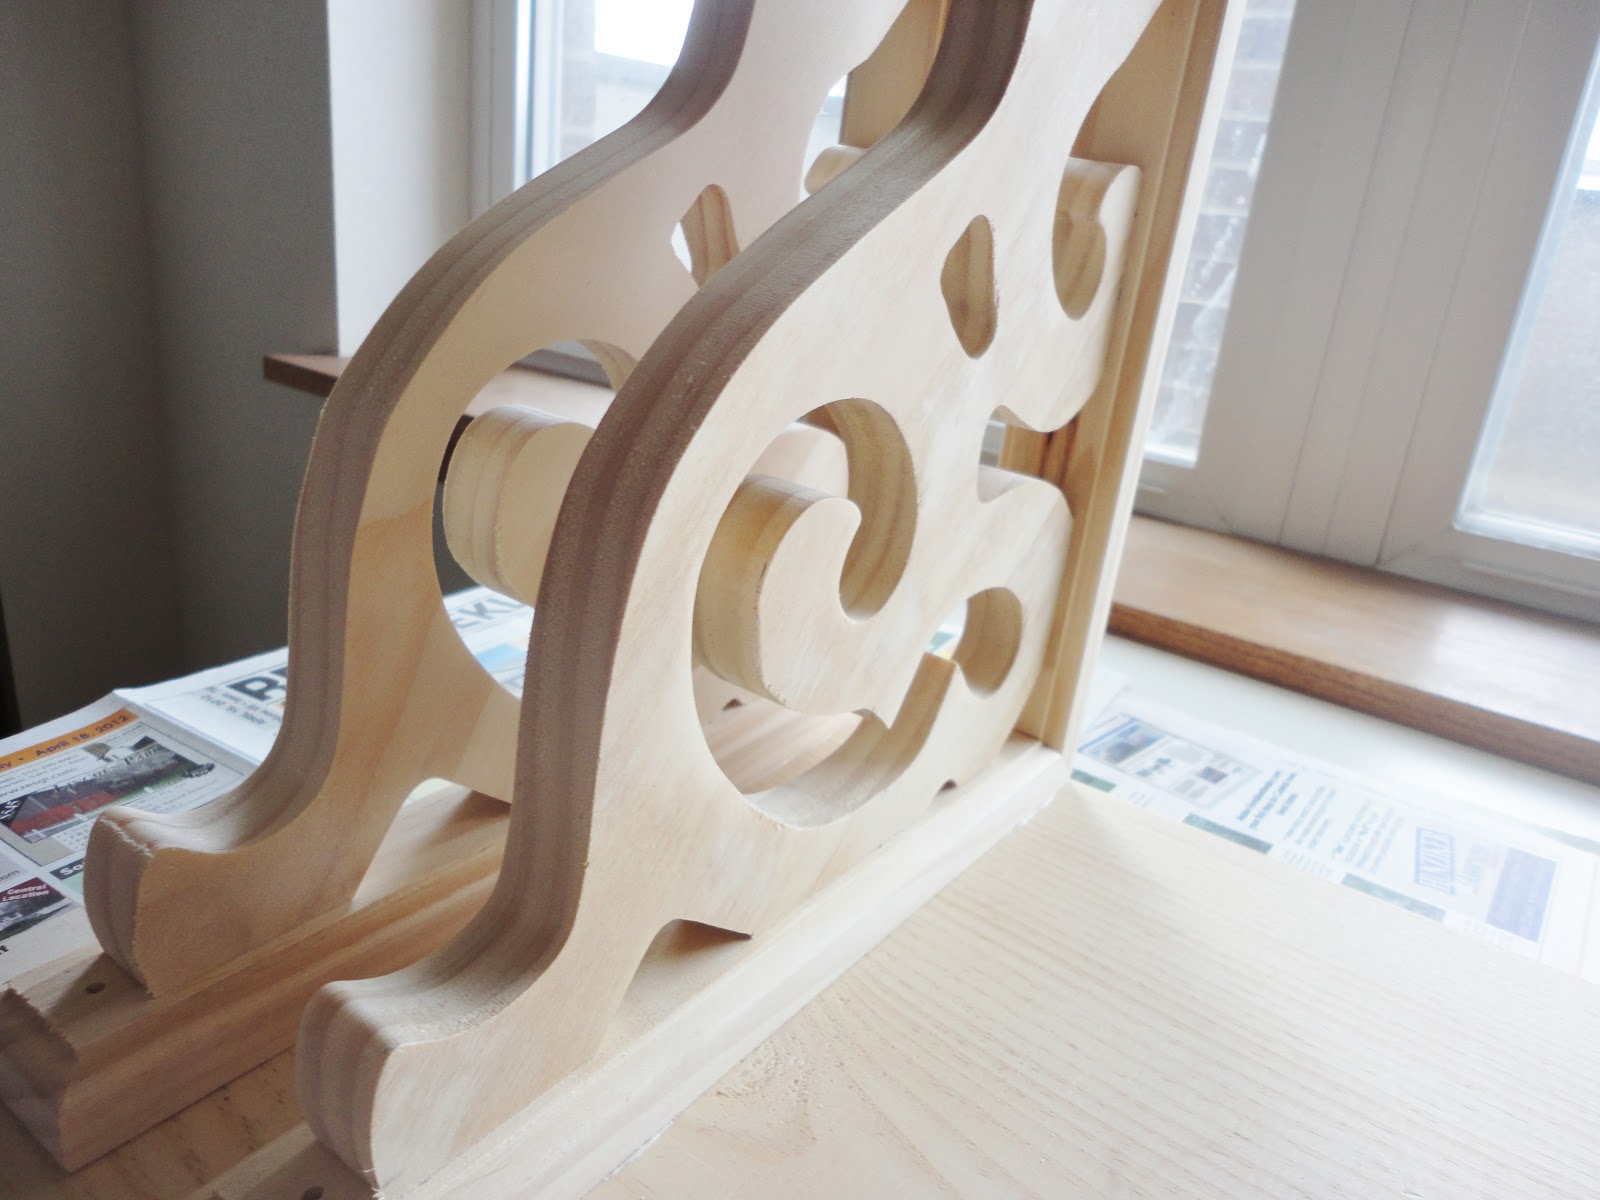
Apply the wood glue to the bottom of the corbel. Don't be too generous, since the glue expands. Place the corbel glue-side-down where you want it on the wood board. Hold firmly for a minute or so.
Move on to the next one... If you want you can measure the distance between the corbels. I just eyed it...
Tip: keep a wet washrag on hand to wipe up any glue that seeps out from beneath the corbel when you press it down against the wood.
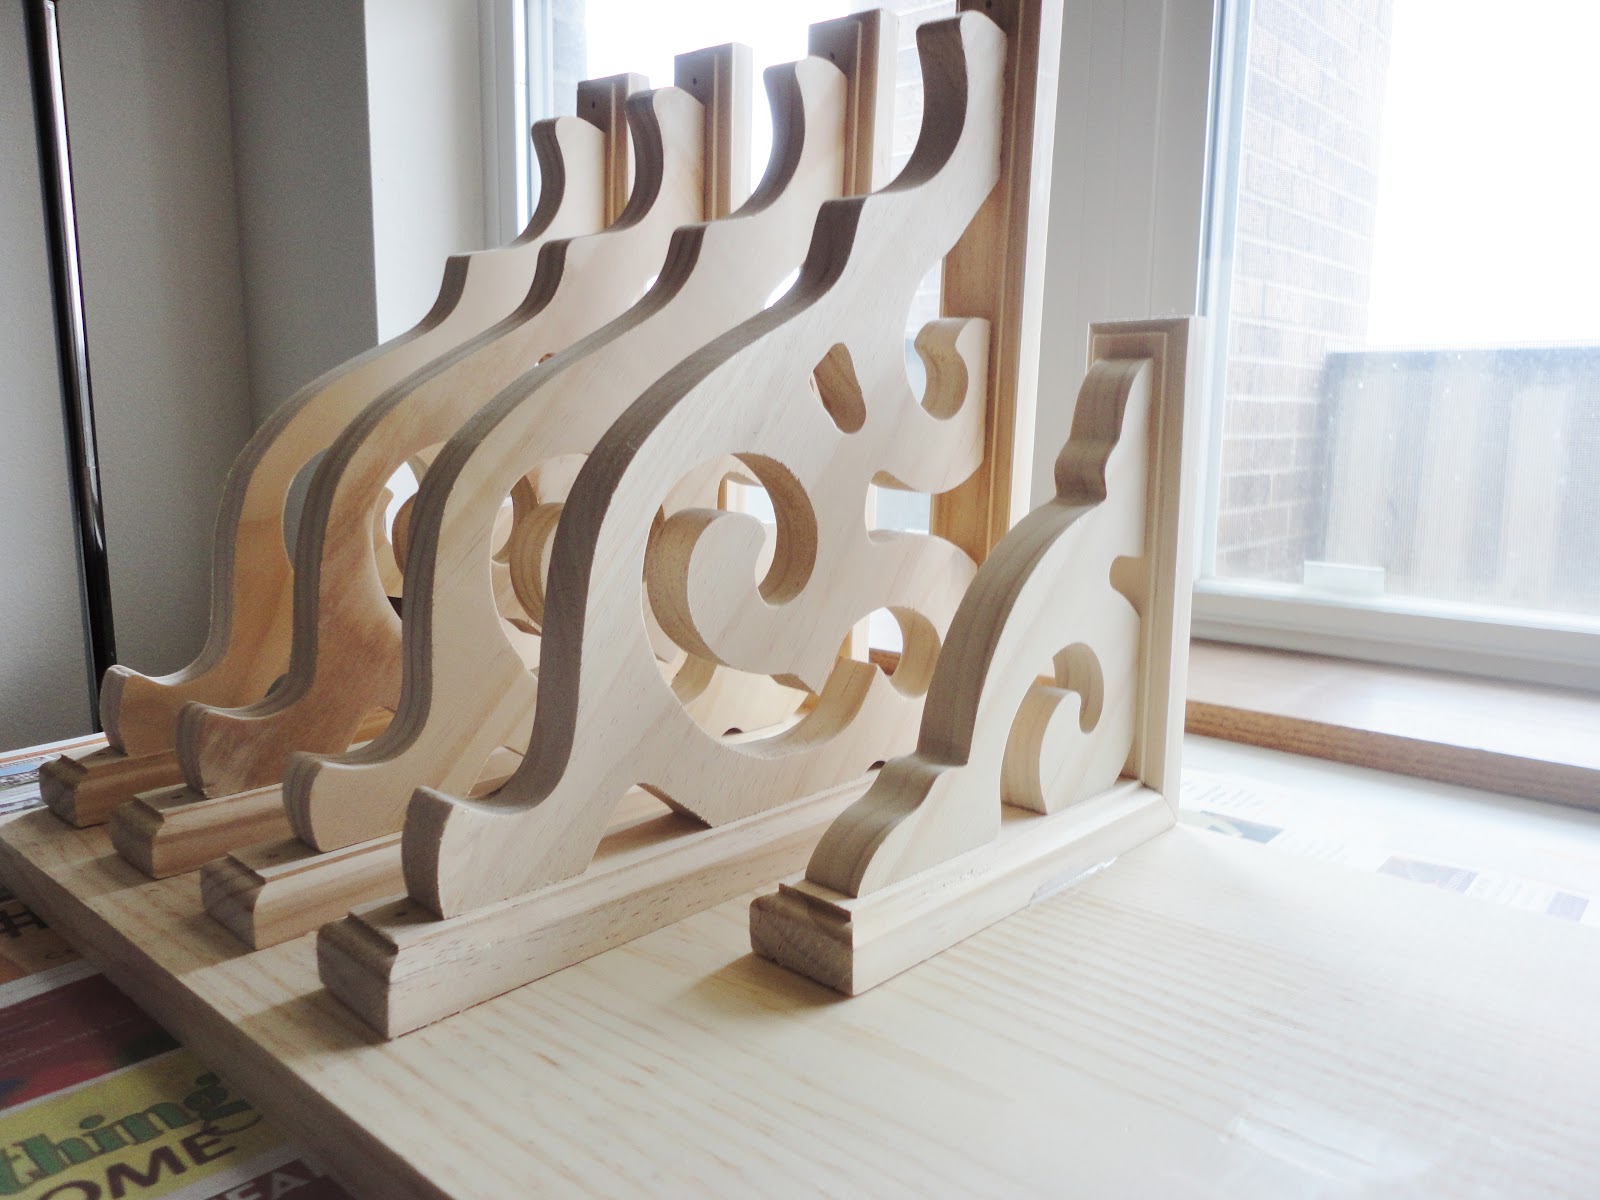
Continue gluing all the corbels to the wood board.
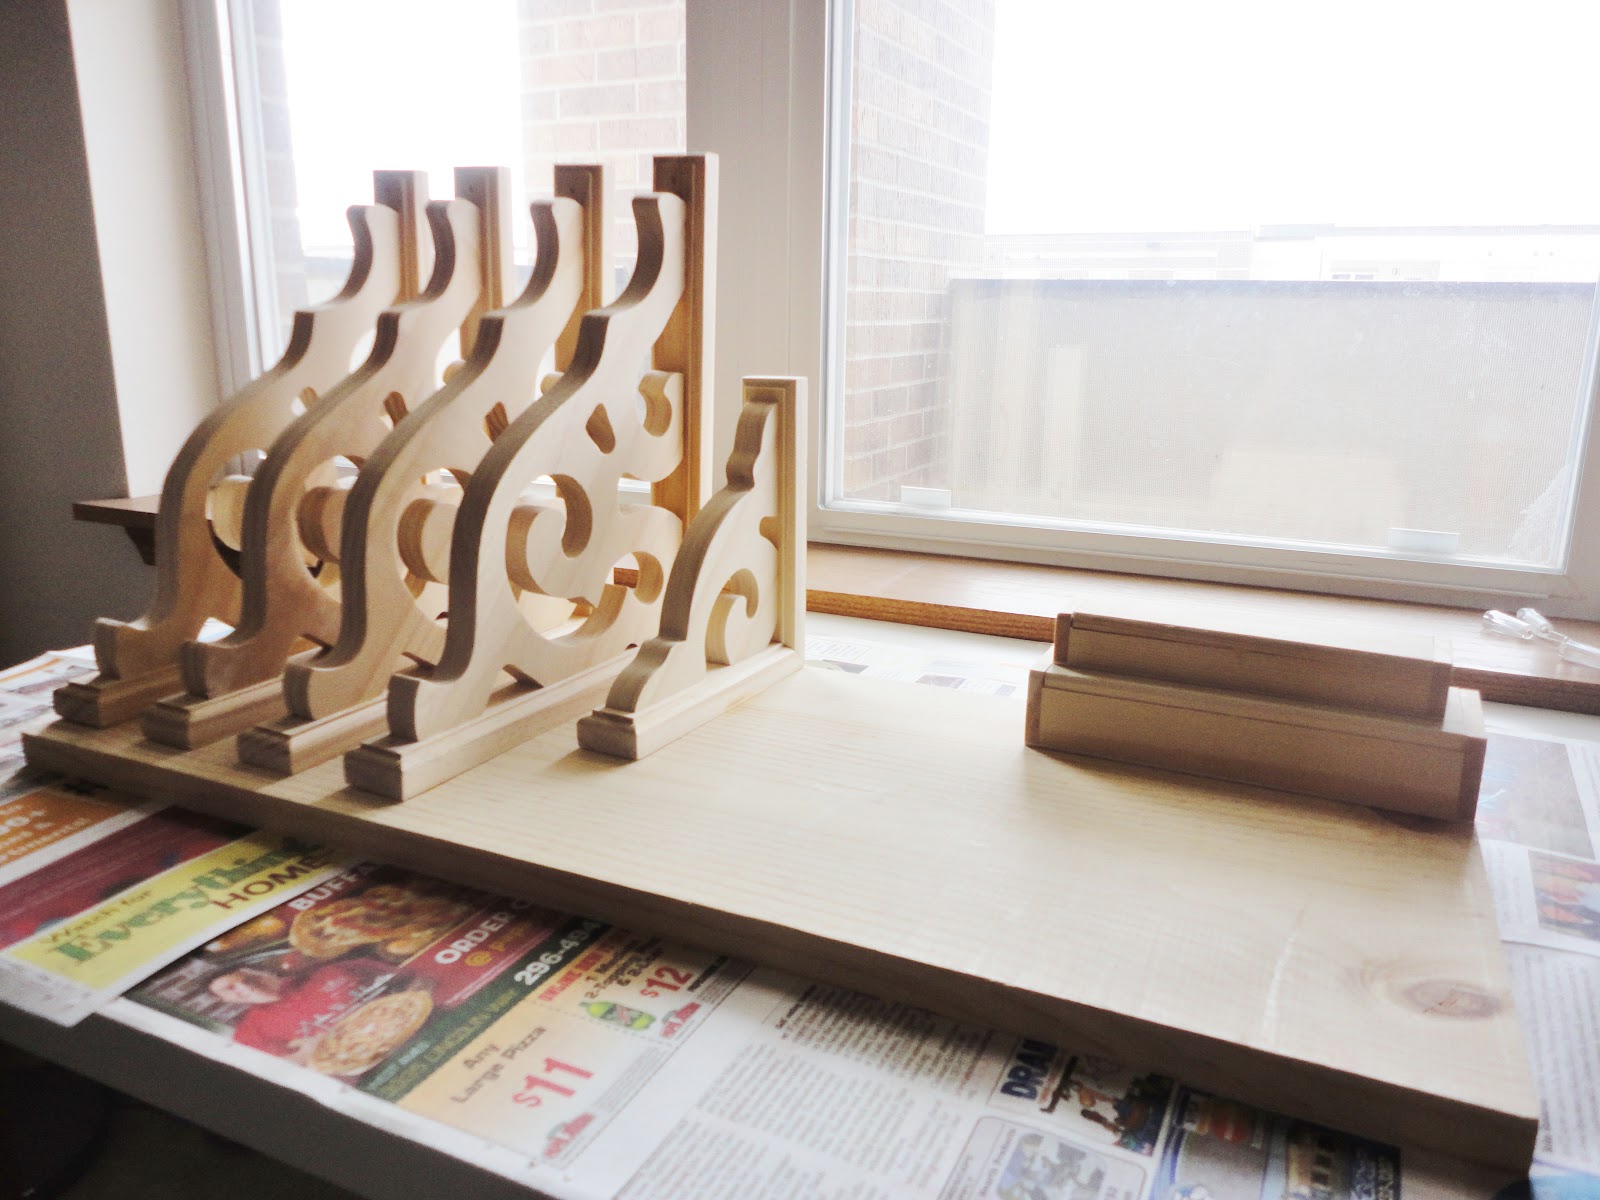
I toyed around with the idea of gluing a couple wooden boxes to the board as well. But ultimately decided to keep that end of the board clear. Let dry overnight.

Then, spray paint the whole thing! Spray lightly, layering the paint to avoid drips.
If you notice that you missed any hard-to-reach spots with the spray paint, touch it up with matching acrylic.
On to the possibilities...
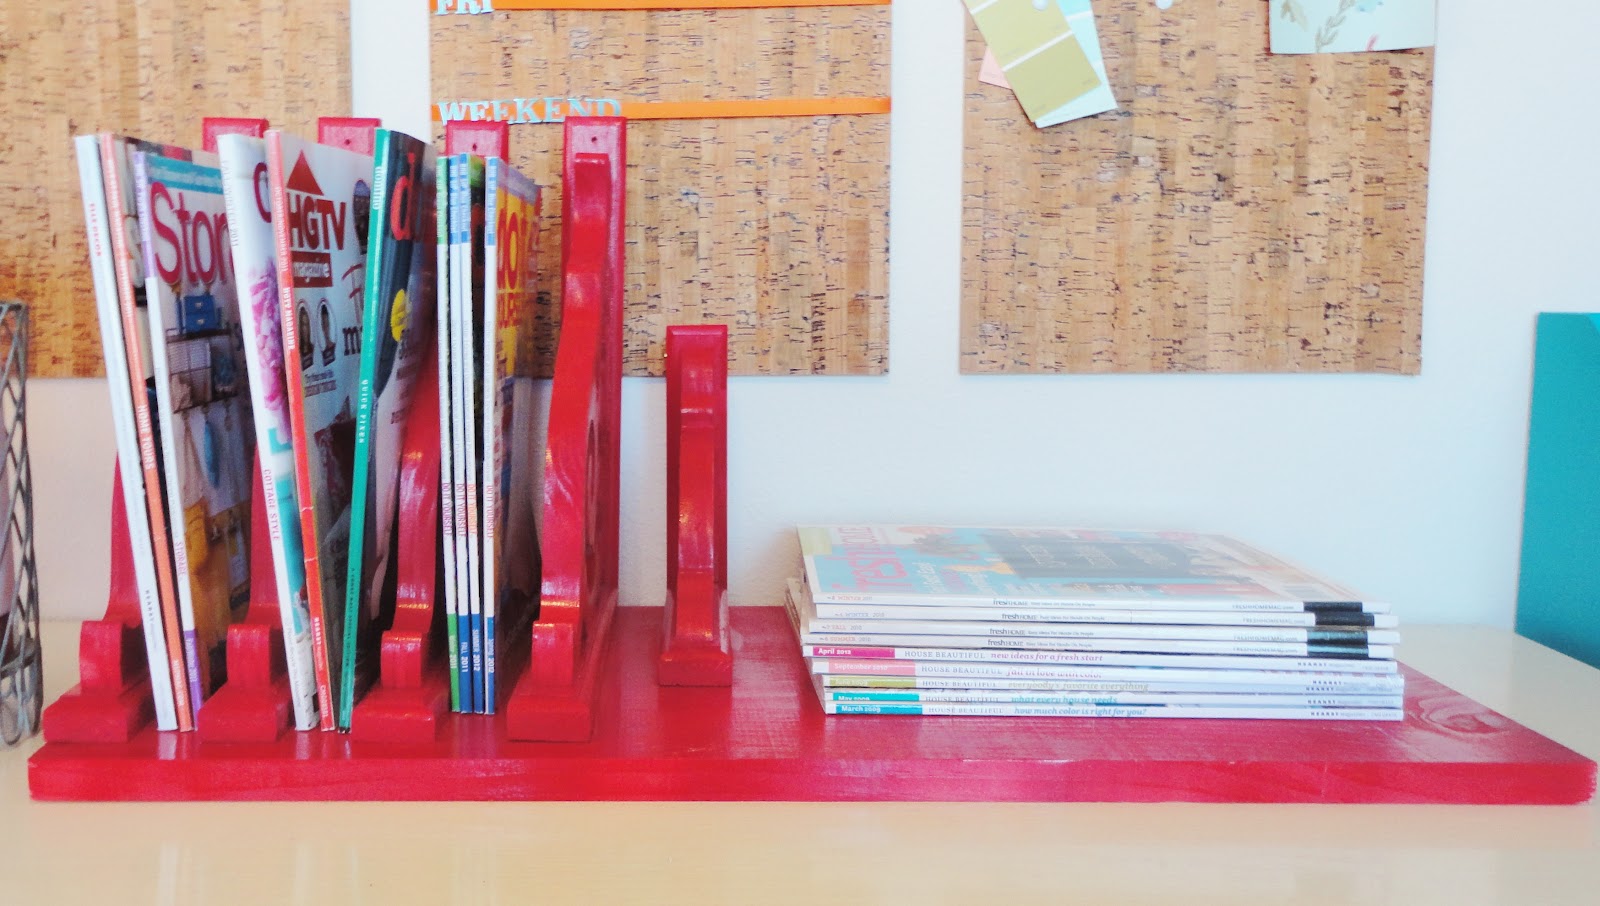
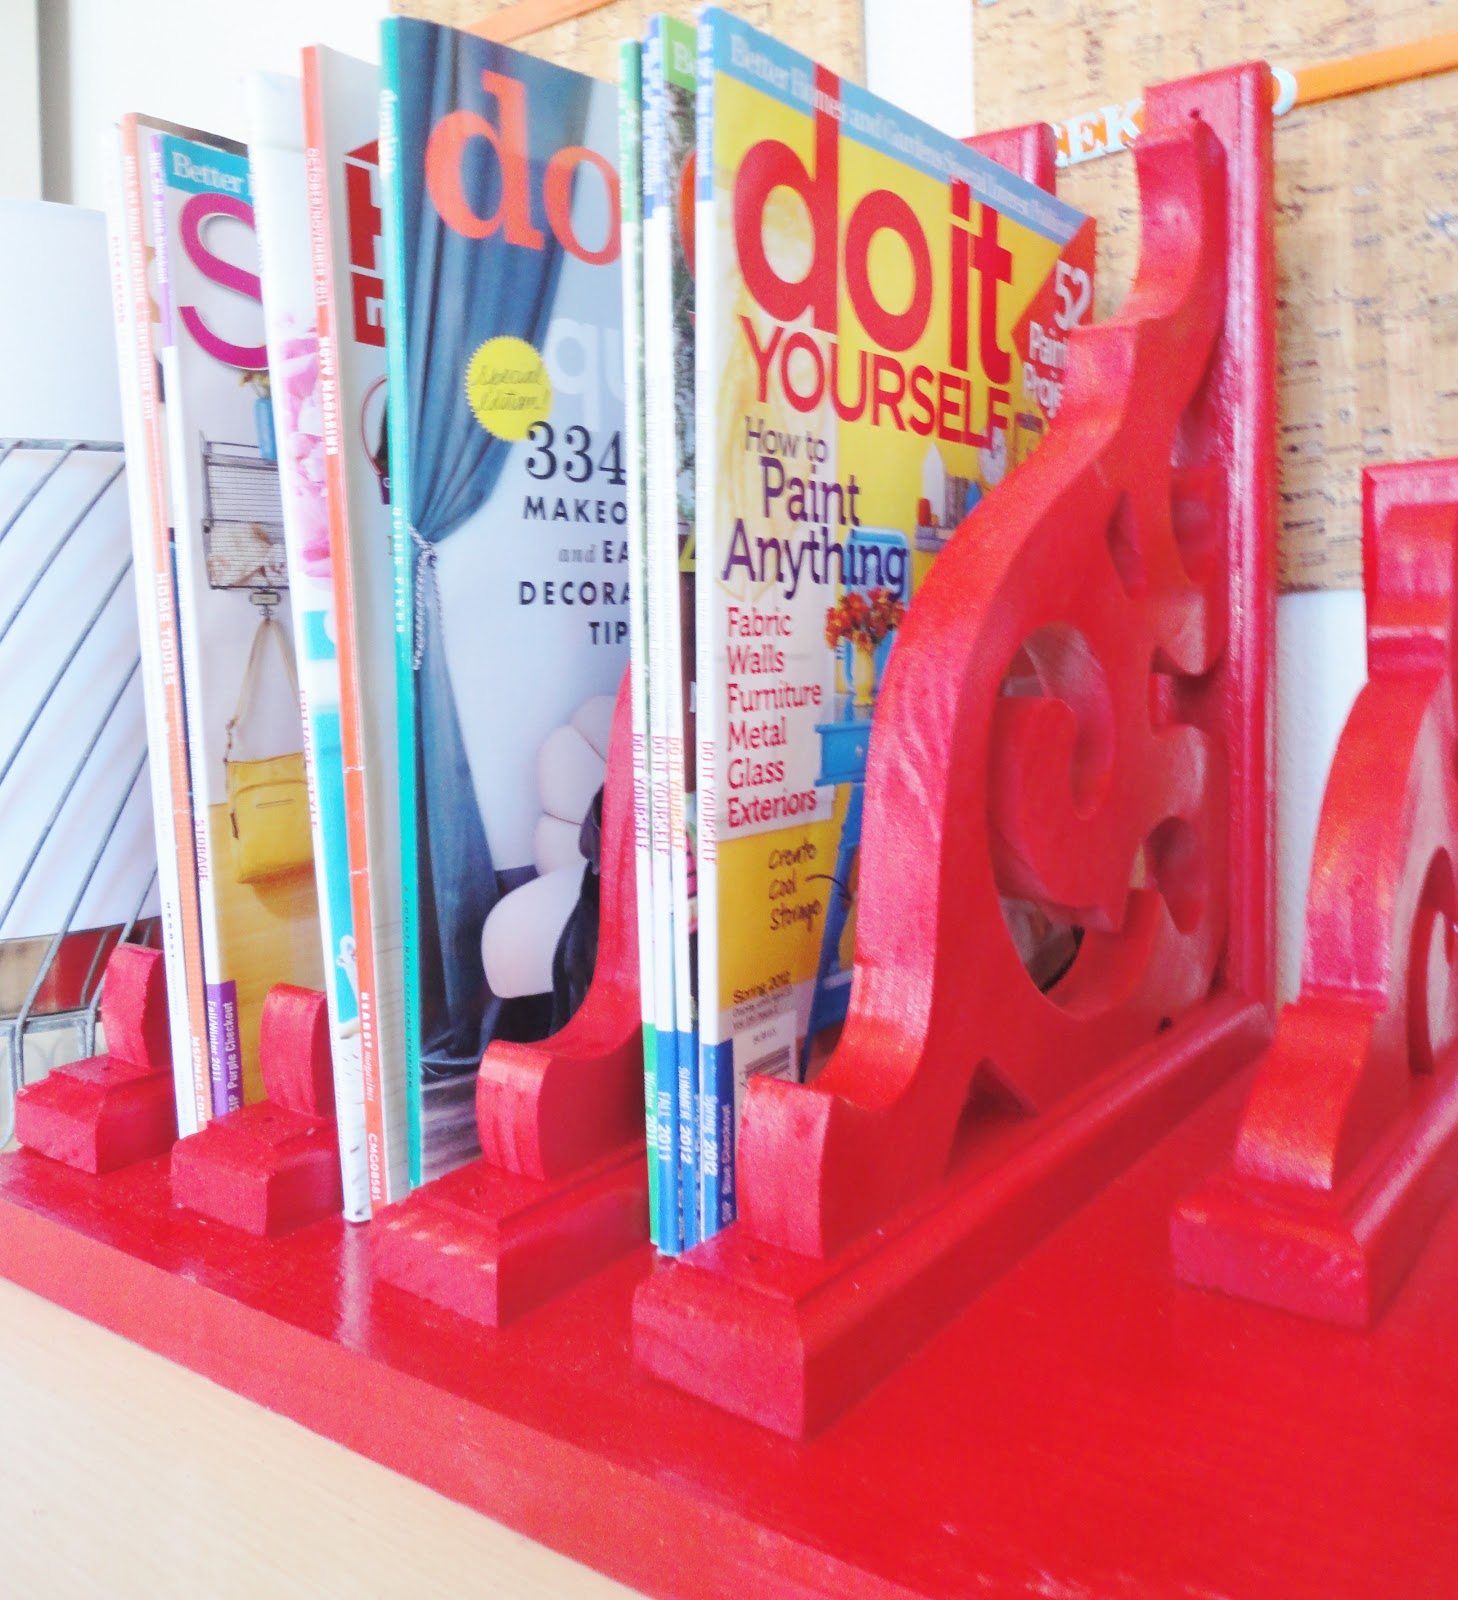
Option 1: Magazine Heaven
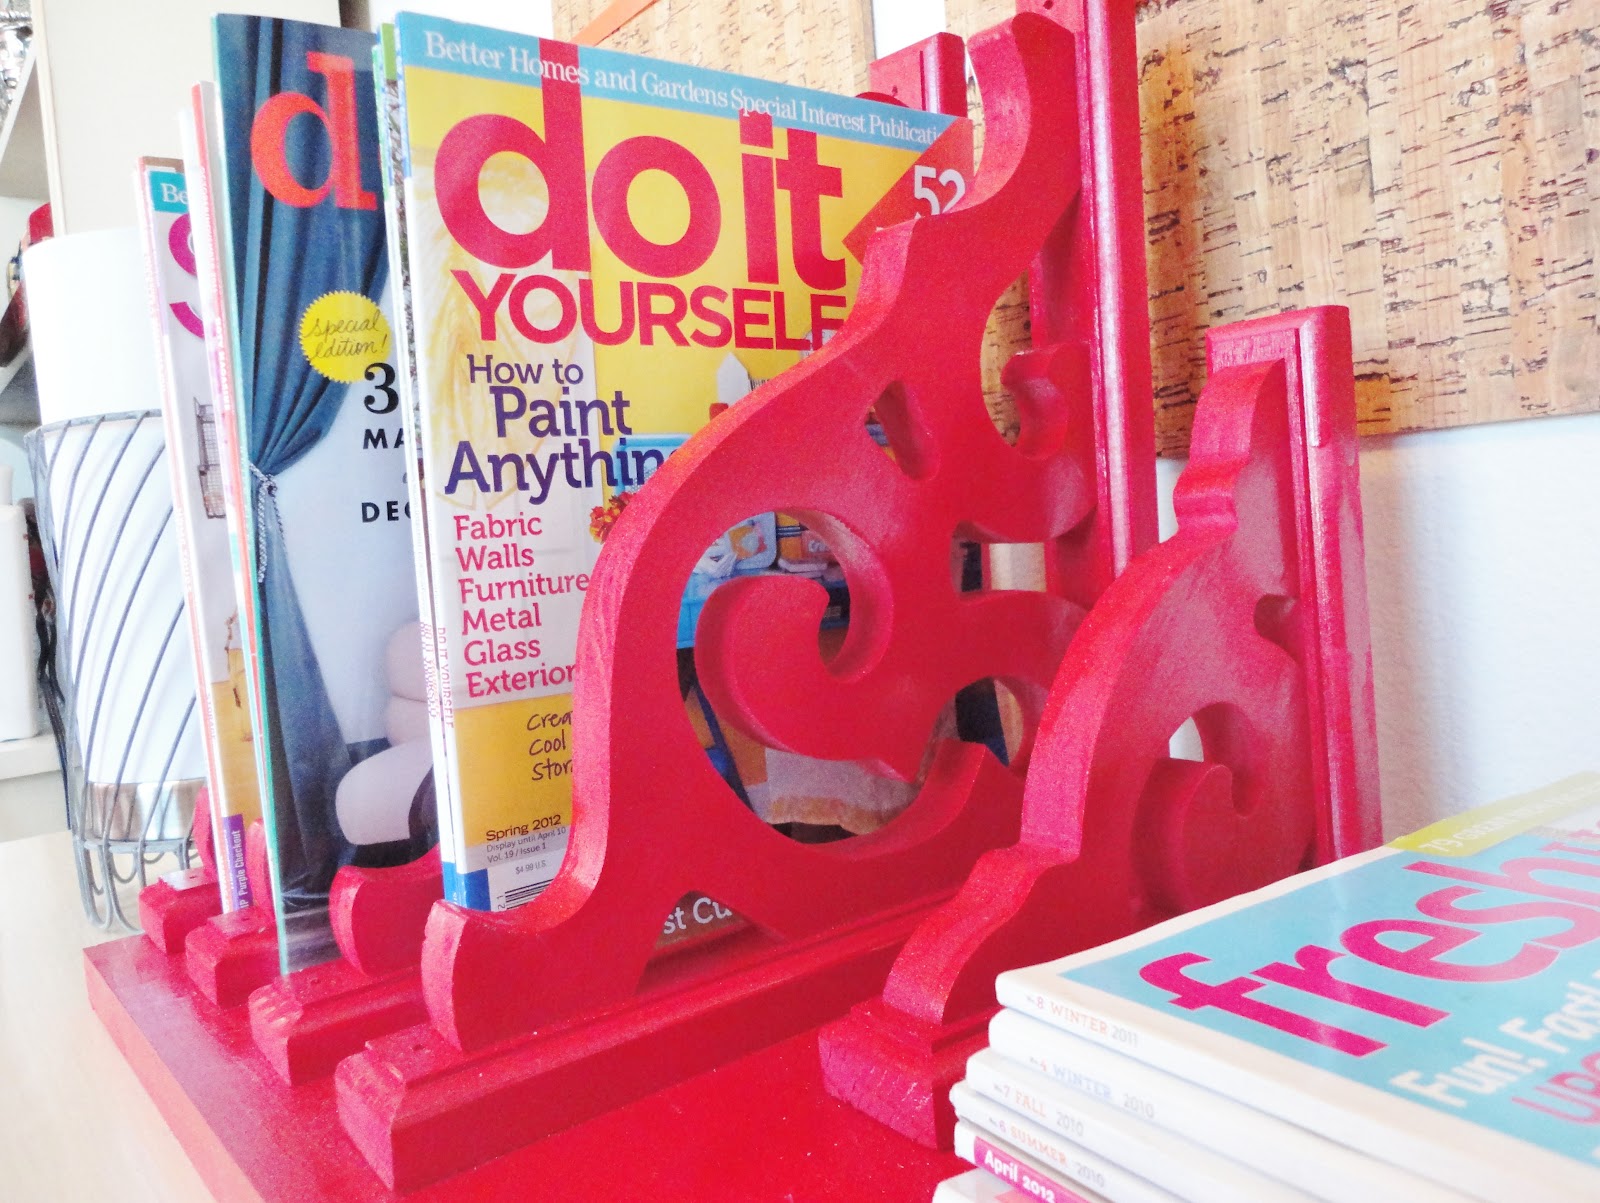
Oh, yes. That's the special edition Domino you see peaking out from behind my beloved Do It Yourself.
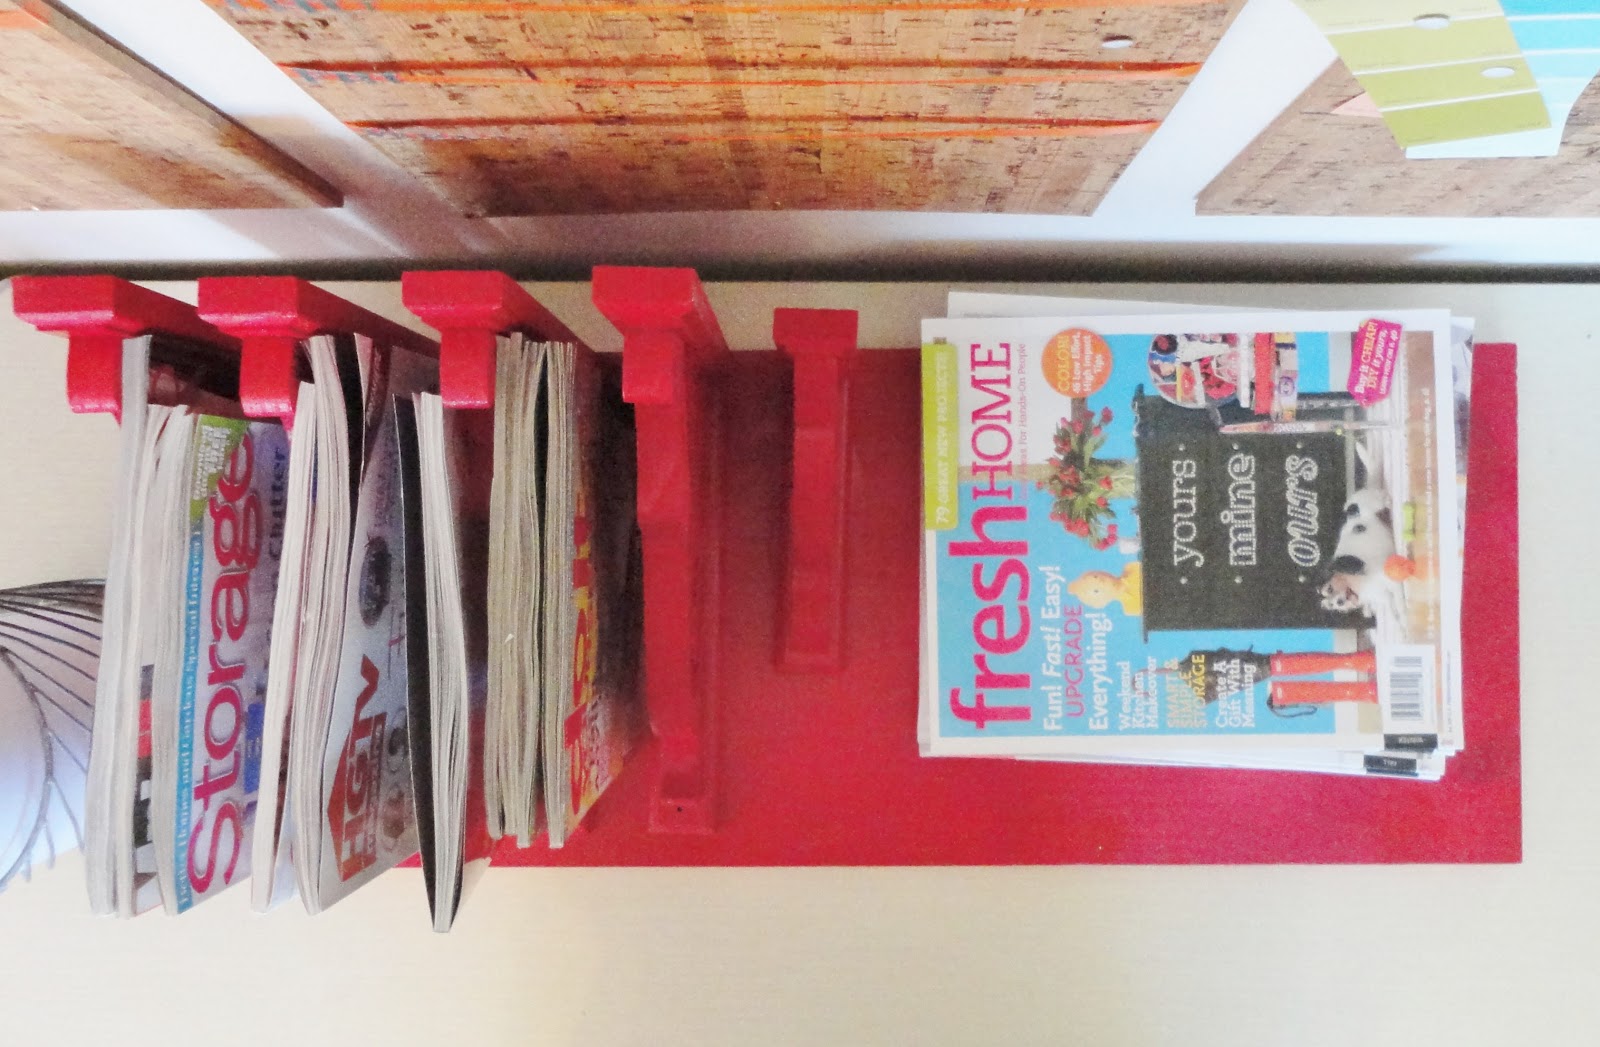
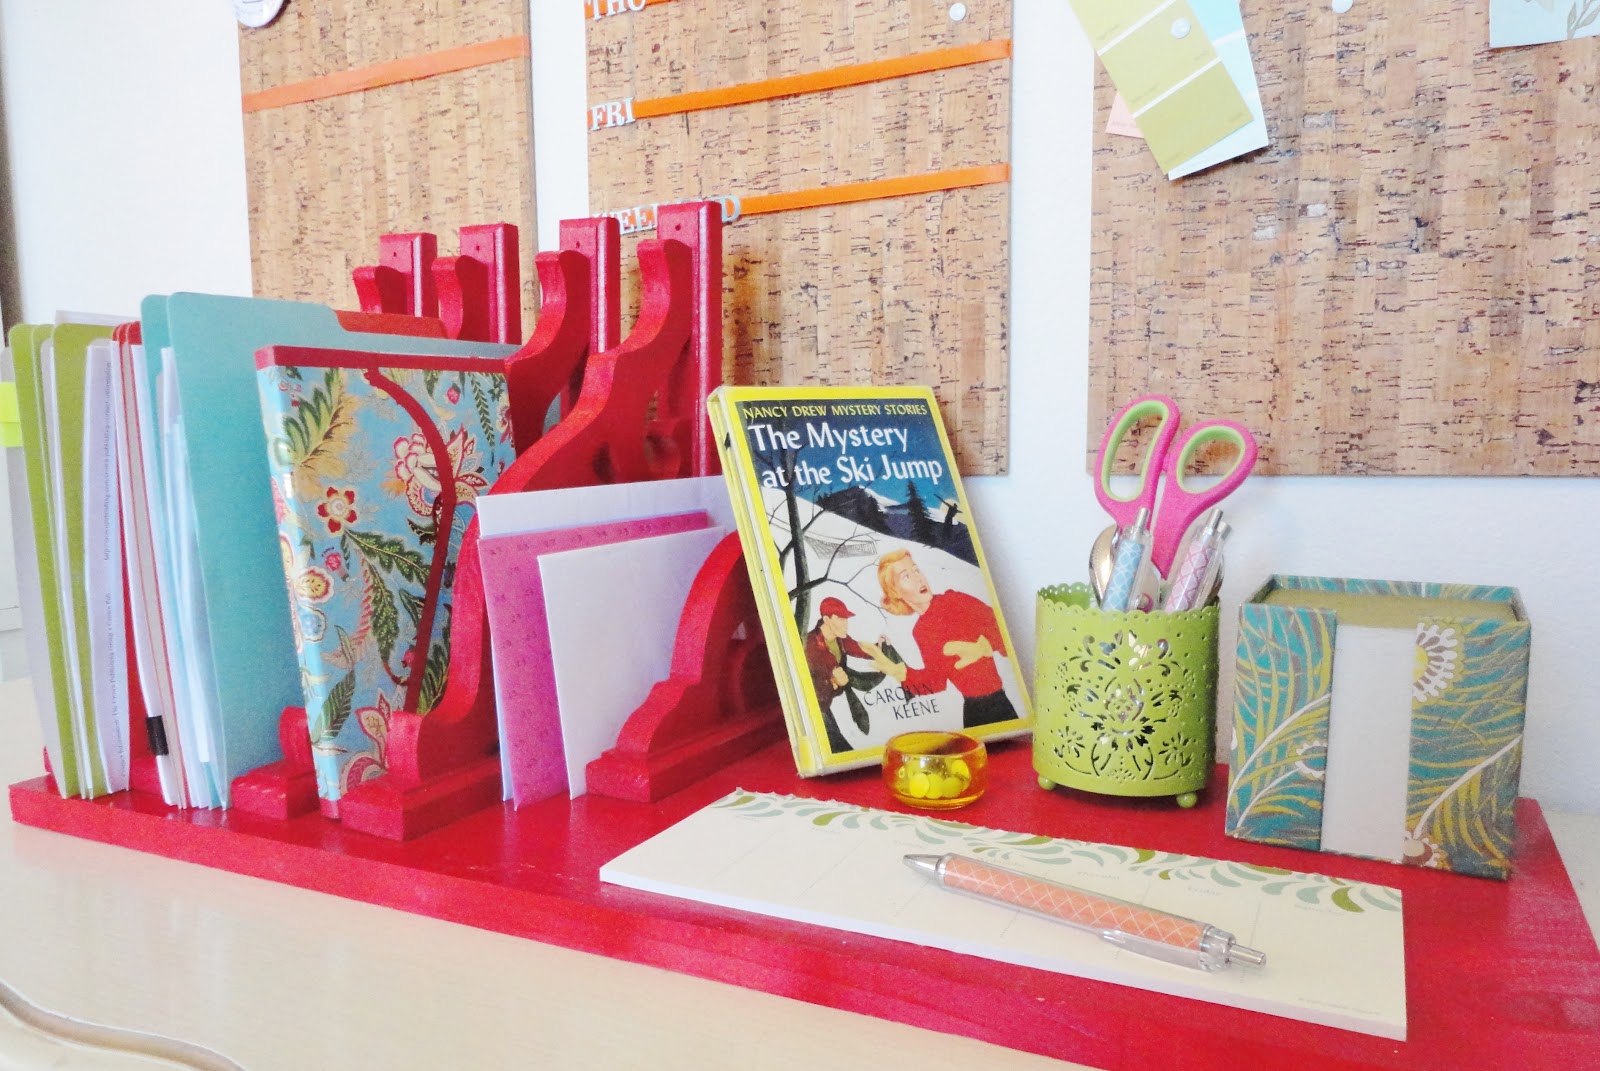
Option 2: Office Organizer
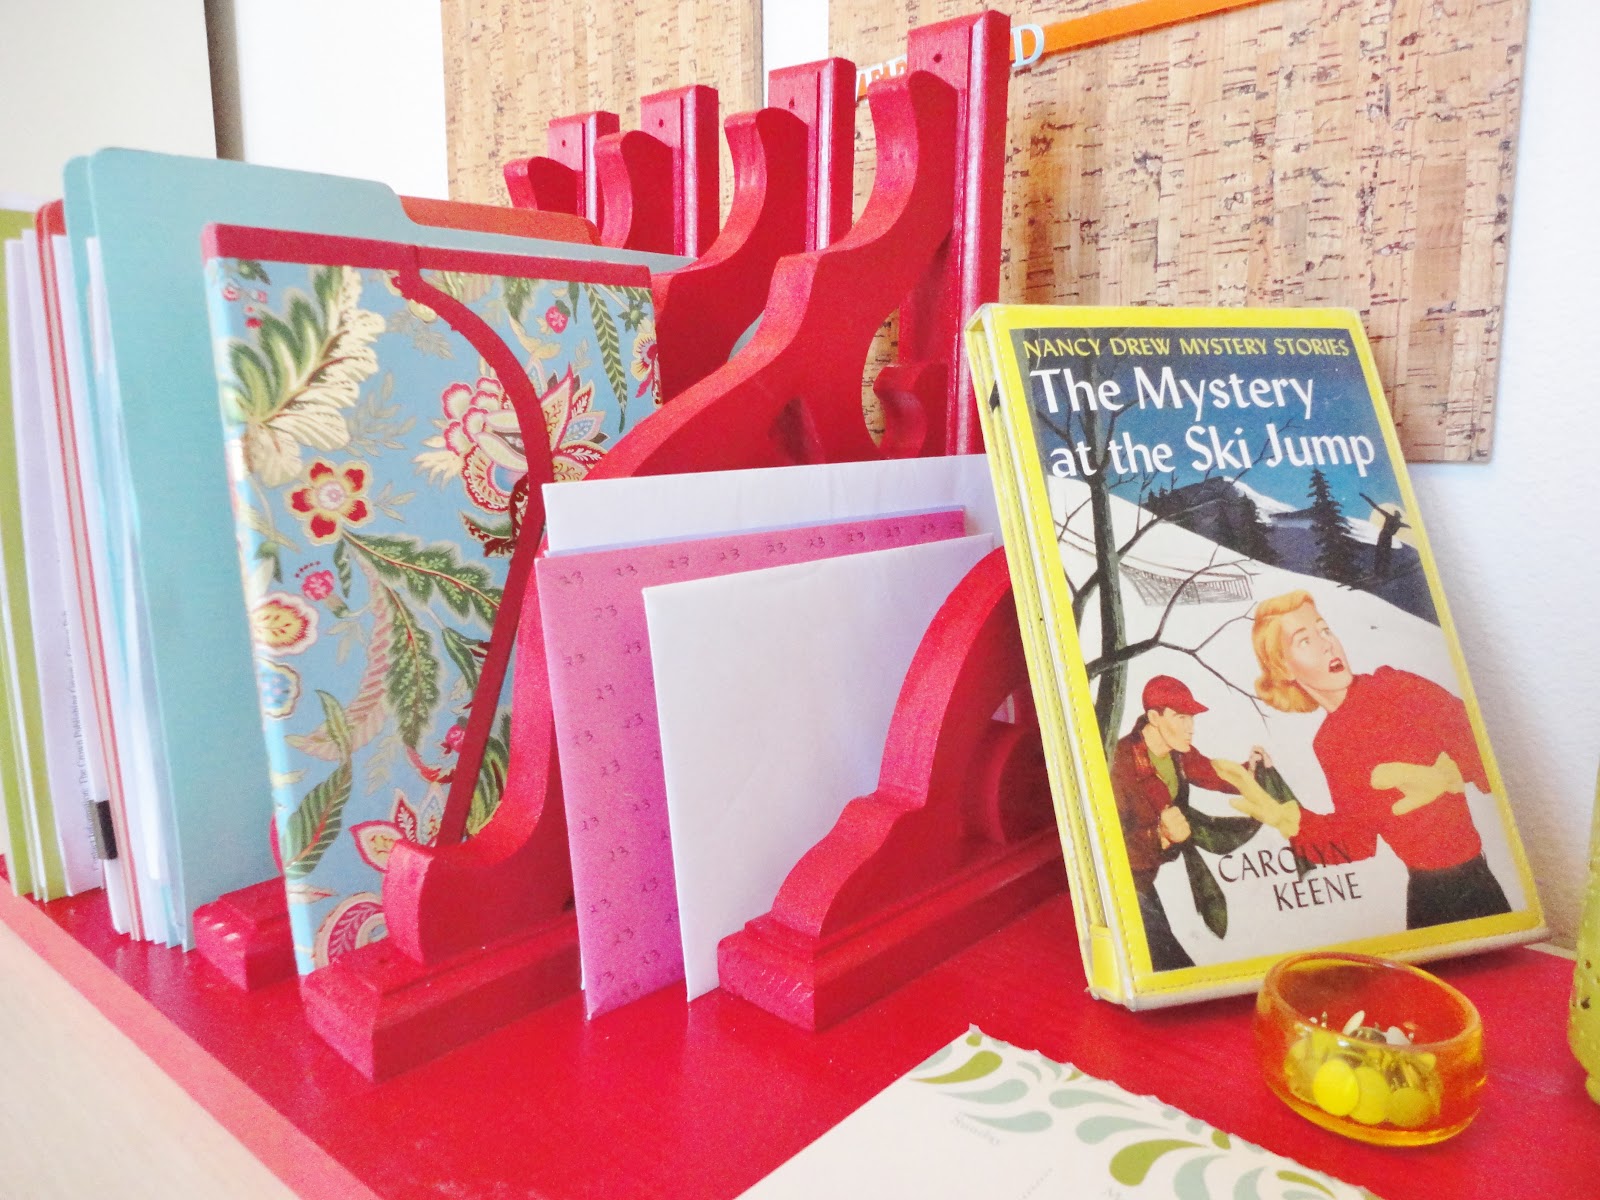
Slide folders, notebooks, and journals between the large corbels. The smaller one is perfect for mail.
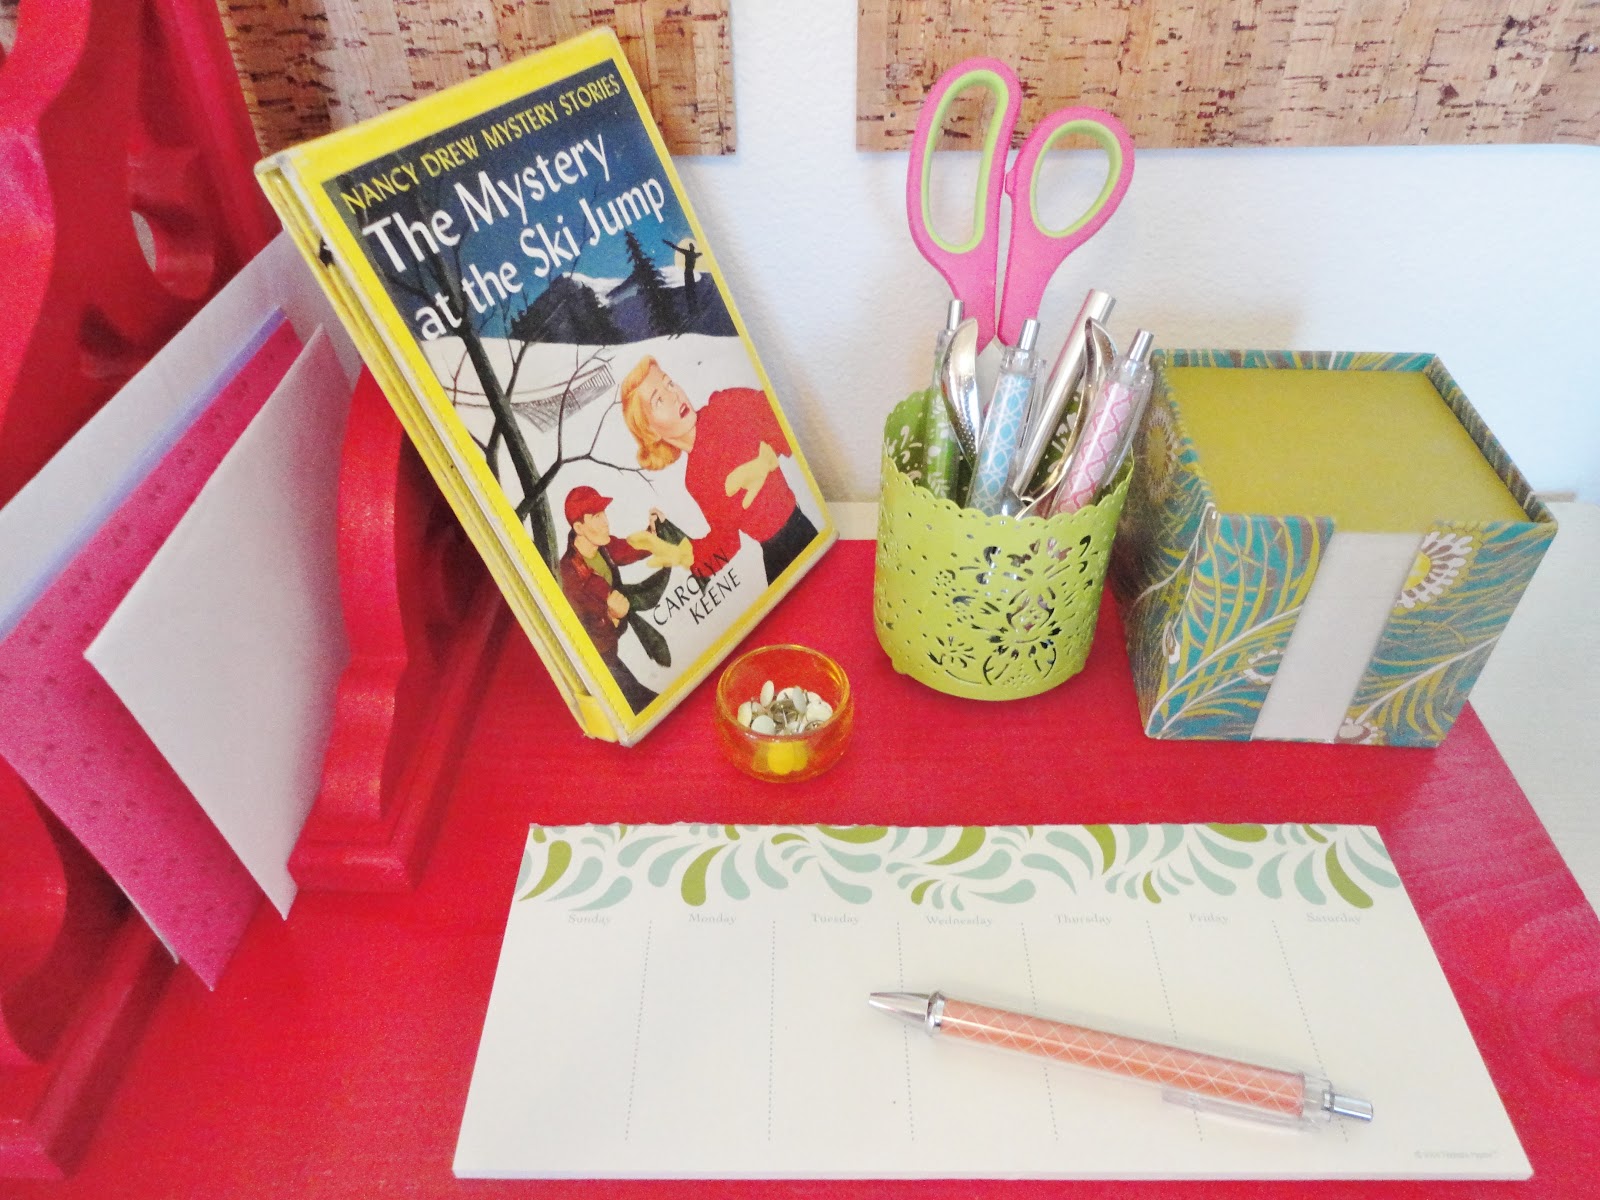
Use the empty end to keep a weekly calendar, note paper, and other supplies. A small tealight holder is perfect for thumbtacks. And a pretty candleholder works well for pens, scissors, etc.
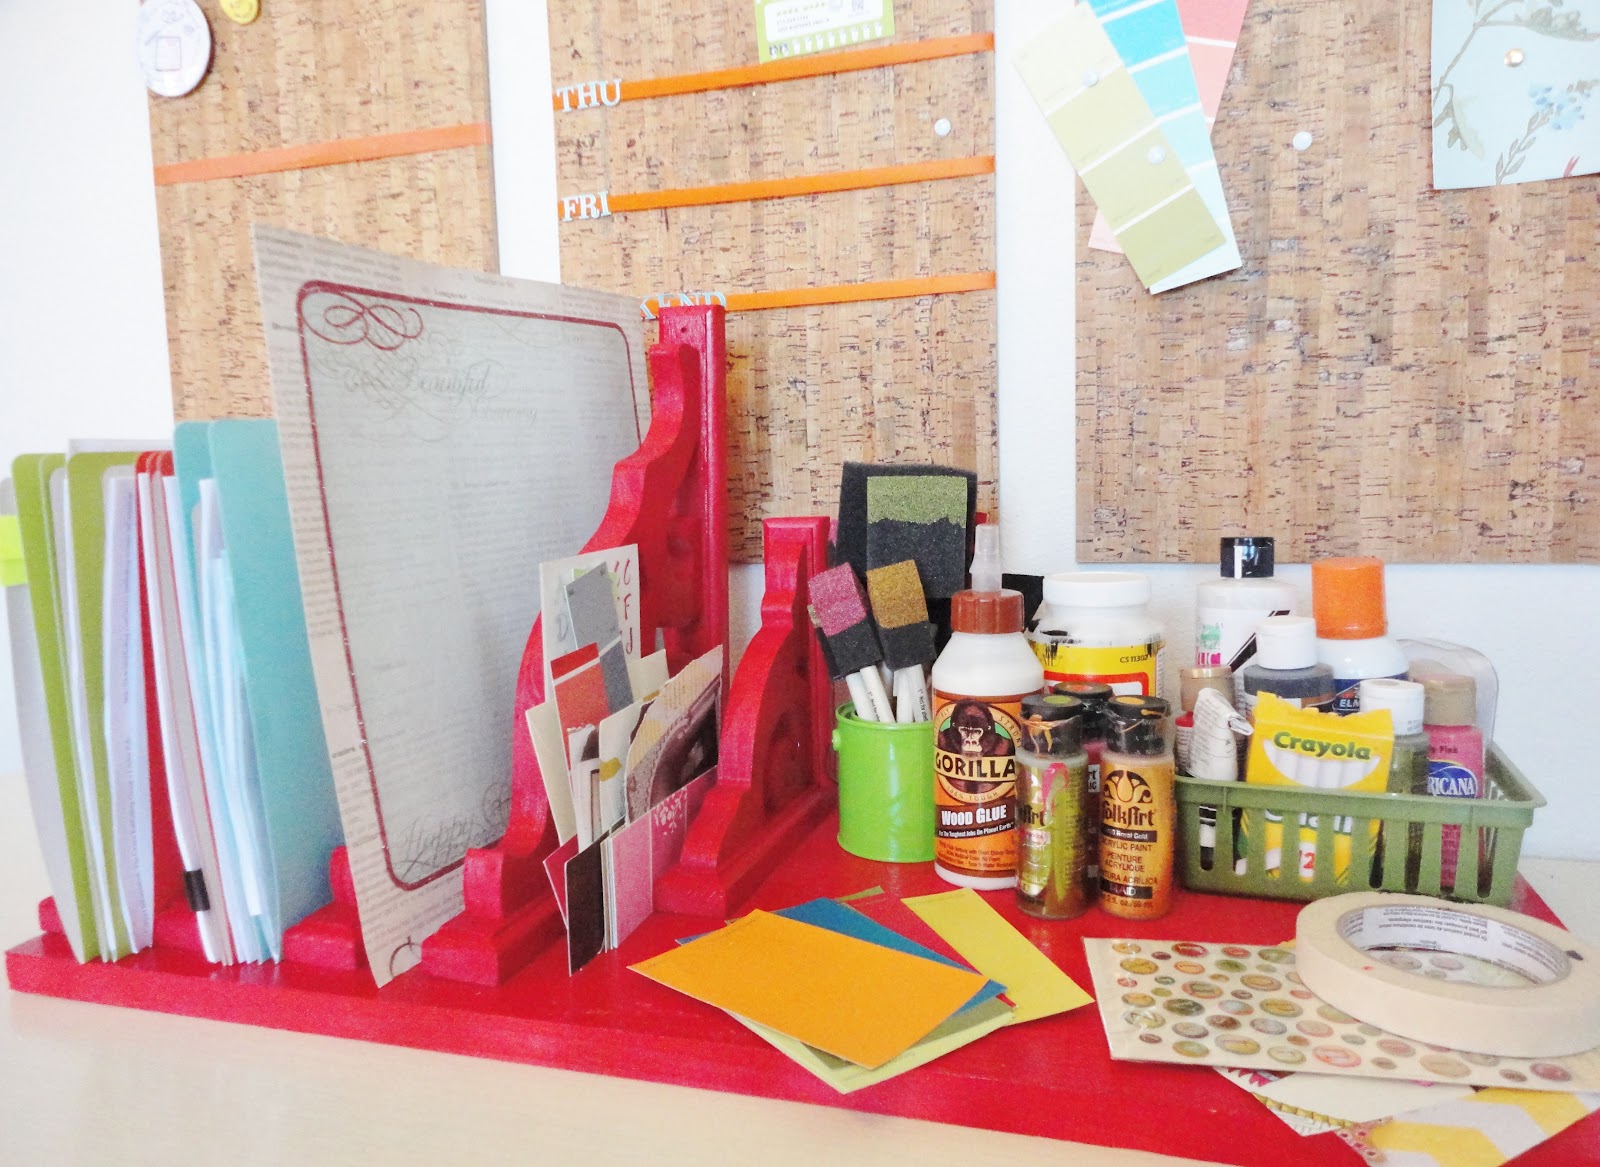
Option 3: Creation Station
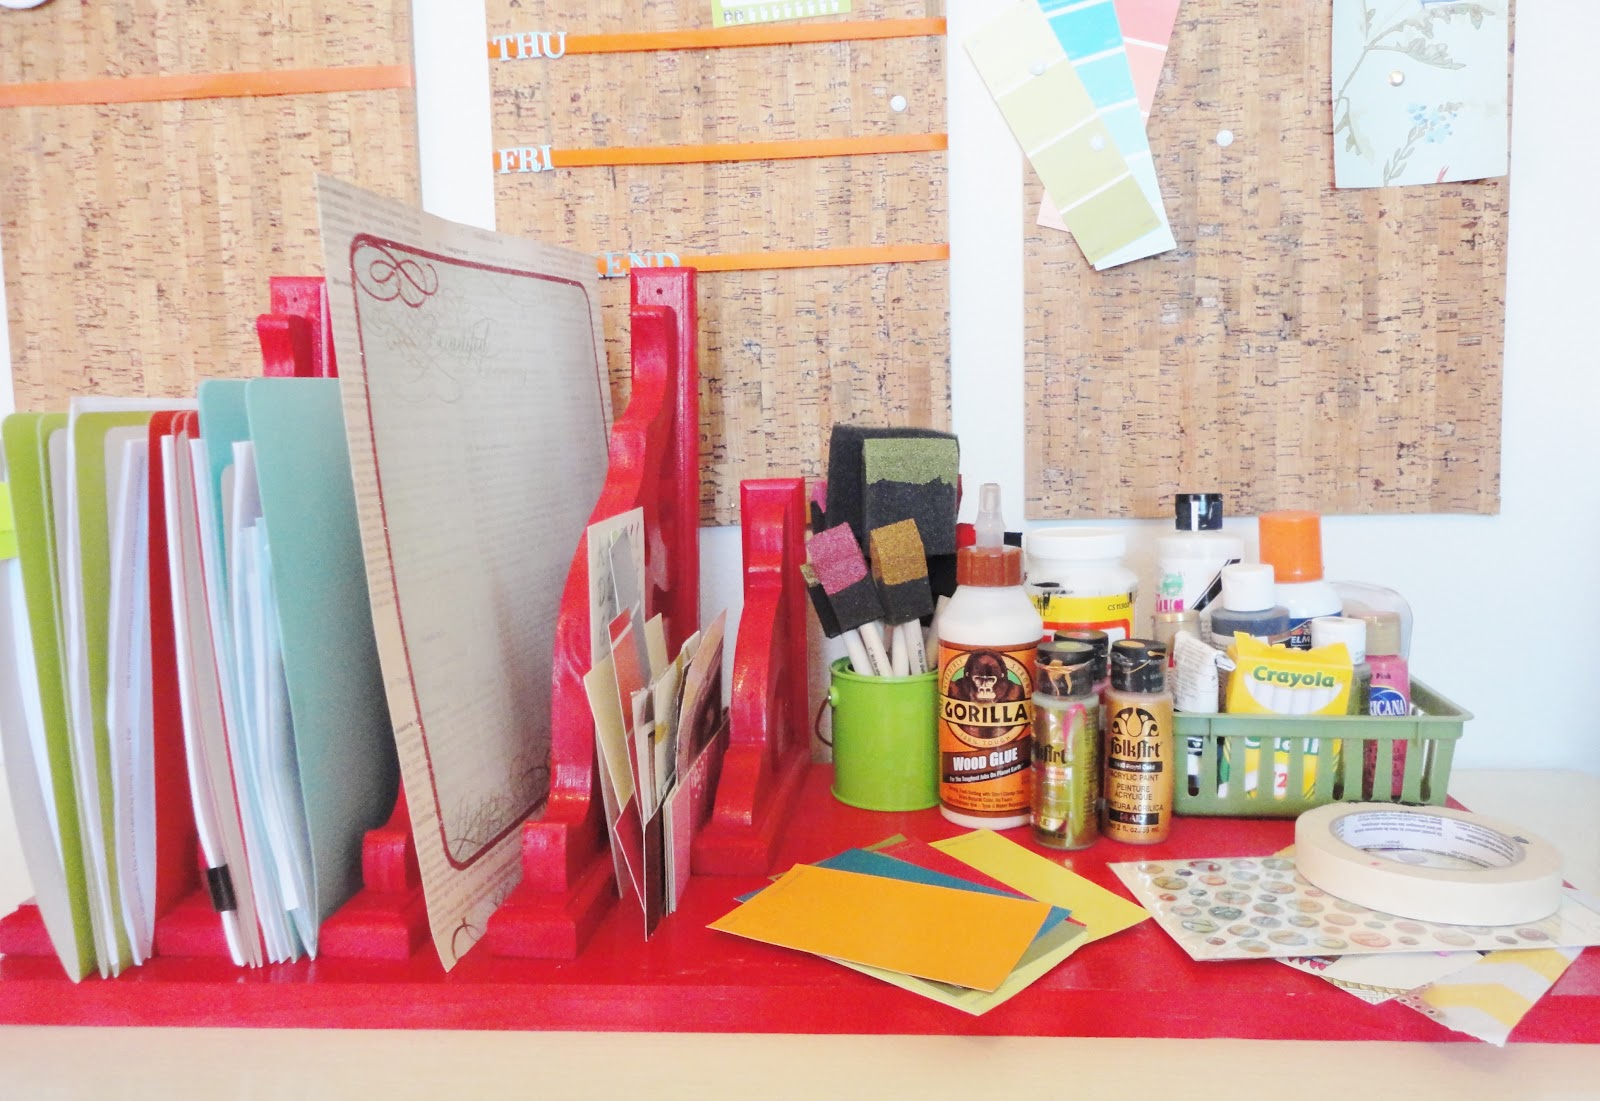
Use the corbels for folders or to organize scrapbook paper. The smaller slot holds scraps of inspiration.
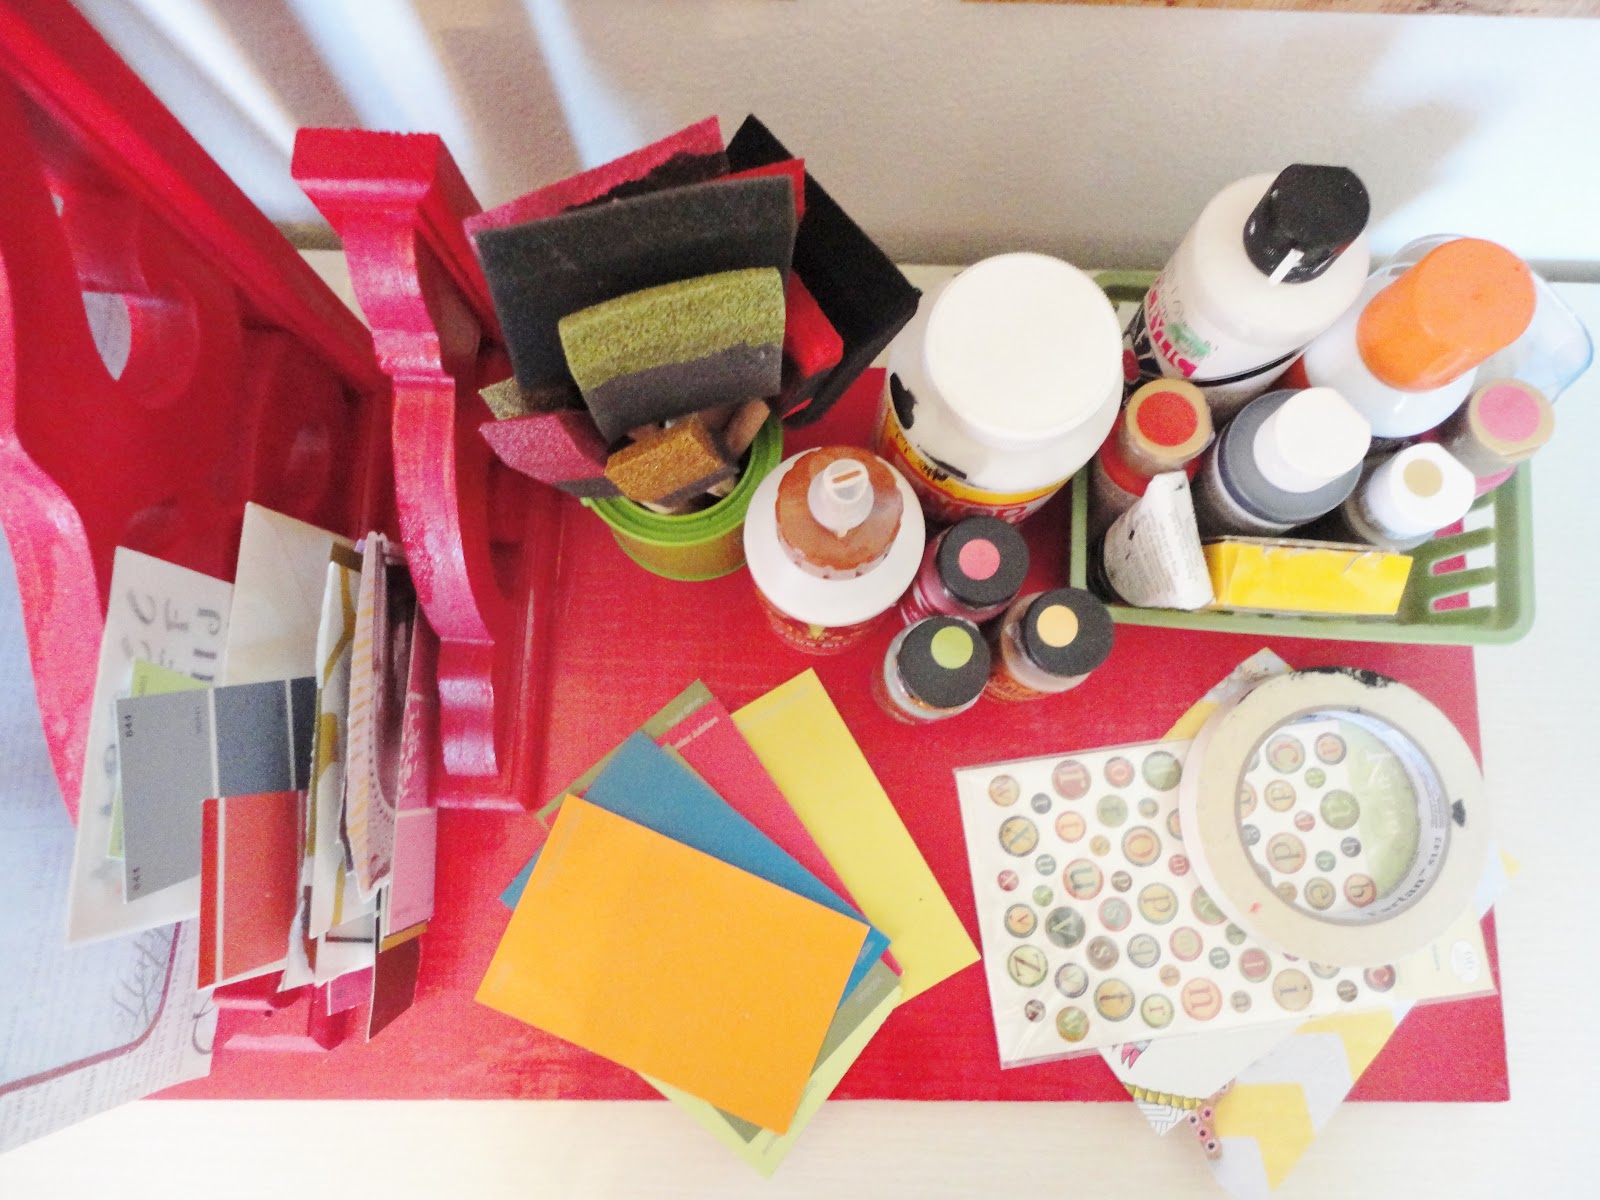
Brushes, paints, glues, tape, and paint chips hang out on the empty end of the board.
This project could also be used well as a coming-and-going station in a shared apartment with roomies. Each slot could belong to a roommate... for their mail, magazines, school papers, etc. A bowl on the empty end could catch keys and spare change.
Another option would be to glue corbels all the way across the board and leave no empty space.

If you haven't already, be sure to enter the Apartment Guide + Lovely Undergrad
We're giving away a $50 gift card to The Container Store to get you organized!
(And there are only a few days left!)

Disclosure Statement:
Apartment Guide and owner Consumer Source, Inc. partnered with bloggers such as me to participate in their monthly blogger programs. As part of that program, I received compensation. They did not tell me what to purchase or what to say about the products used, and believe that consumers and bloggers are free to form their own opinions and share them in their own words. Consumer Source’s policies align with WOMMA Ethics Code, FTC guidelines and social media engagement recommendations. The winner of this giveaway will be randomly chosen and gift card fulfillment will be handled by a third party.
*My original inspiration for this project came from Curbly's Shelf Bracket Magazine Rack. I wanted something a bit bigger, more colorful, and suited for the desktop.
5 comments:
Where did you find these corbels?! I've been looking for some to use a shelf brackets/curtain rod holders and these are EXACTLY what I've been imagining.
PS: Love your blog! I'm an ISU student and proud that you're a fellow Cyclone! :D
This is adorable, and I am actually considering making it. I really enjoy your blog and actually came across it while helping my daughter plan her move to college this past summer. We found some wonderful and inspiring ideas, and I still find myself reading it regularly. My dorm, apartment and young adulthood days are over, but I still get a lot of ideas and enjoy sharing the blog with my daughter. Keep up the great work, you are amazing at what you do!
Hii I absolutely loove this tut. i was wondering how u went about mounting it to the wall... :)
You needed to sand all of that before painting, that way the wood doesn't absorb the paint like that.
You should have sanded all of that before you painted, that way the wood wouldn't have absorbed the paint.
Post a Comment