

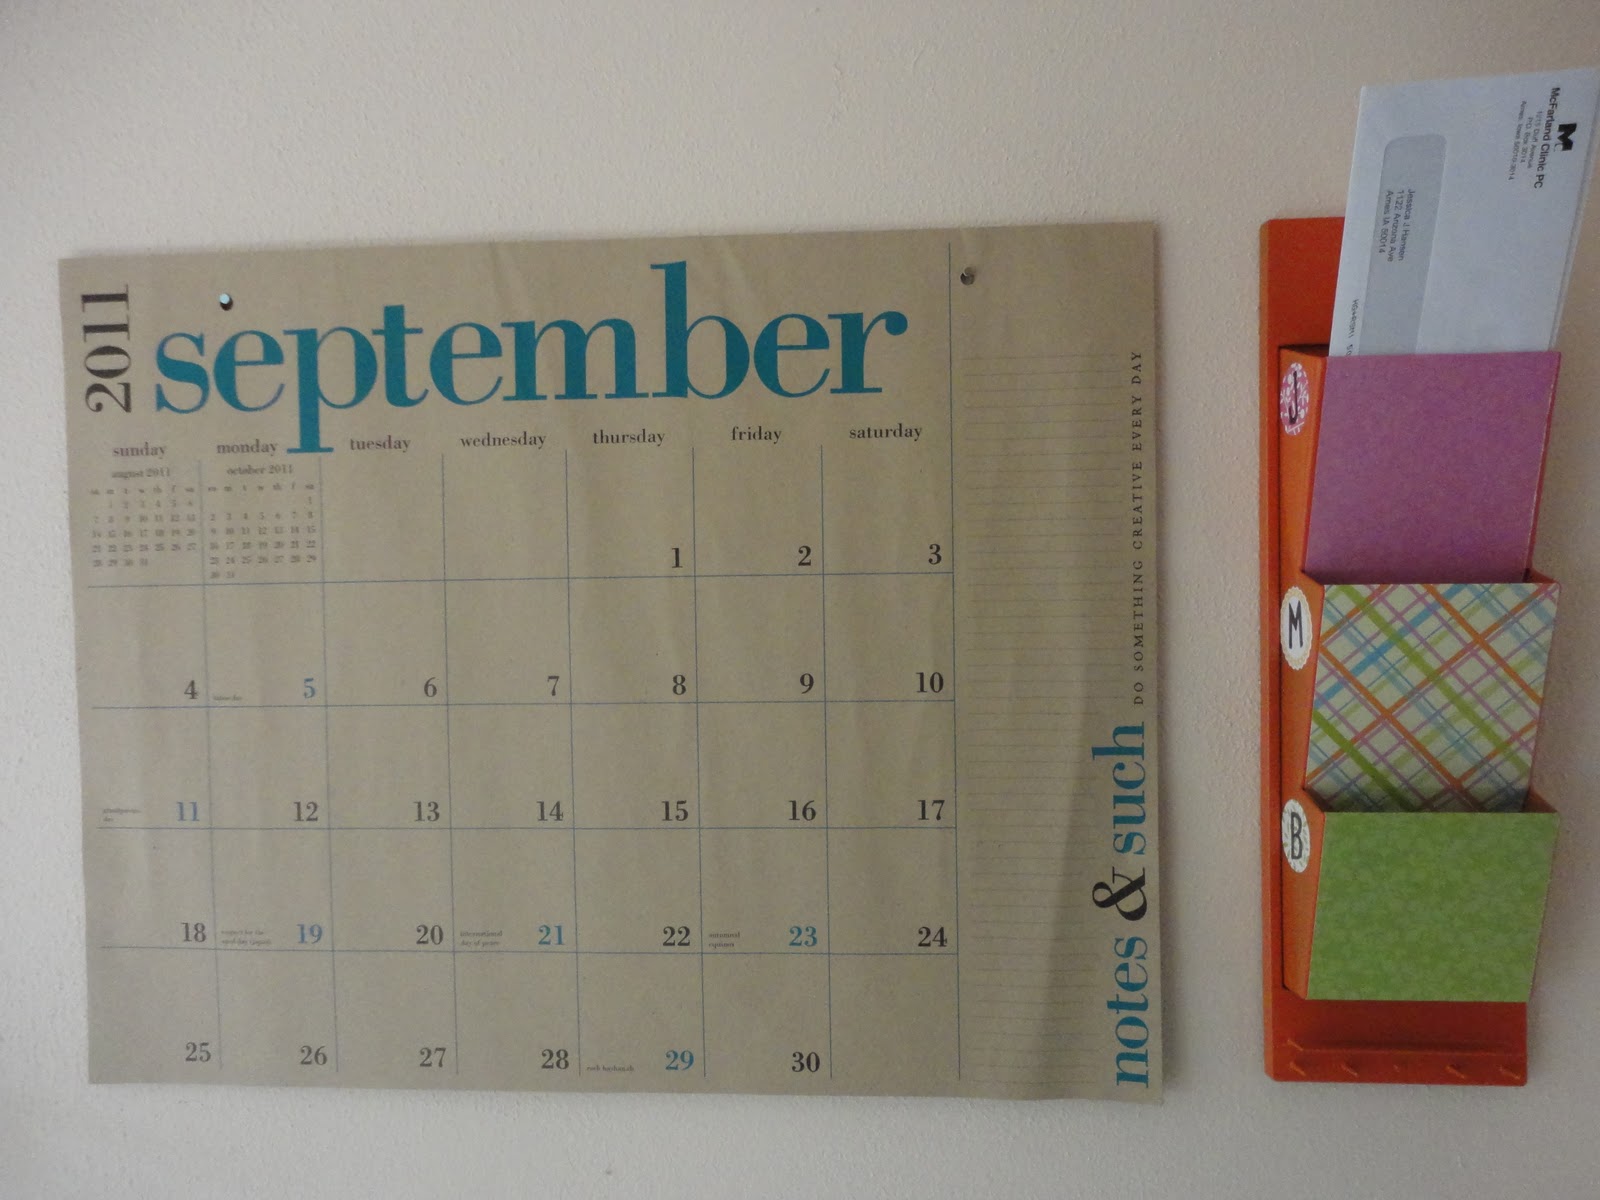
Like this cute, colorful mail sorter I made for me and my two housemates? Well, it only cost me $1 and took a couple hours!
What you'll need:
- A mail sorter. You can typically find these at thrift stores for super cheap (mine was .99 cents). However, you could buy one at Wal-Mart, Target, or Hobby Lobby, too, I'm sure. Be creative. If you can't find an exact mail sorter, find something you can turn into one. Any type of material will generally work. Mine's plastic, but wood or a heavy cardboard would work just as well.
- Spraypaint. I used orange Krylon.
- Newspaper or drop cloths. (To protect the floor/ground from spray paint.)
- Pretty paper. I used scrapbook paper that I had leftover in my desk drawer, but you could use a variety of things! Wallpaper scraps and wrapping paper would be fabulous. You could even go all literary and use the pages from an old book. Or a map would look cool, too!
- Something to use as a label. I opted for a few round stickers I had leftover. You could use a label or even cut your own out of scrapbook paper, cardstock, etc.
- Mod Podge.
I had everything on hand except for the mail sorter, so this project was almost free! The spray paint and Mod Podge are probably your biggest costs, but those will come in handy time and time again for projects in the future (so consider the 5ish bucks an investment!).

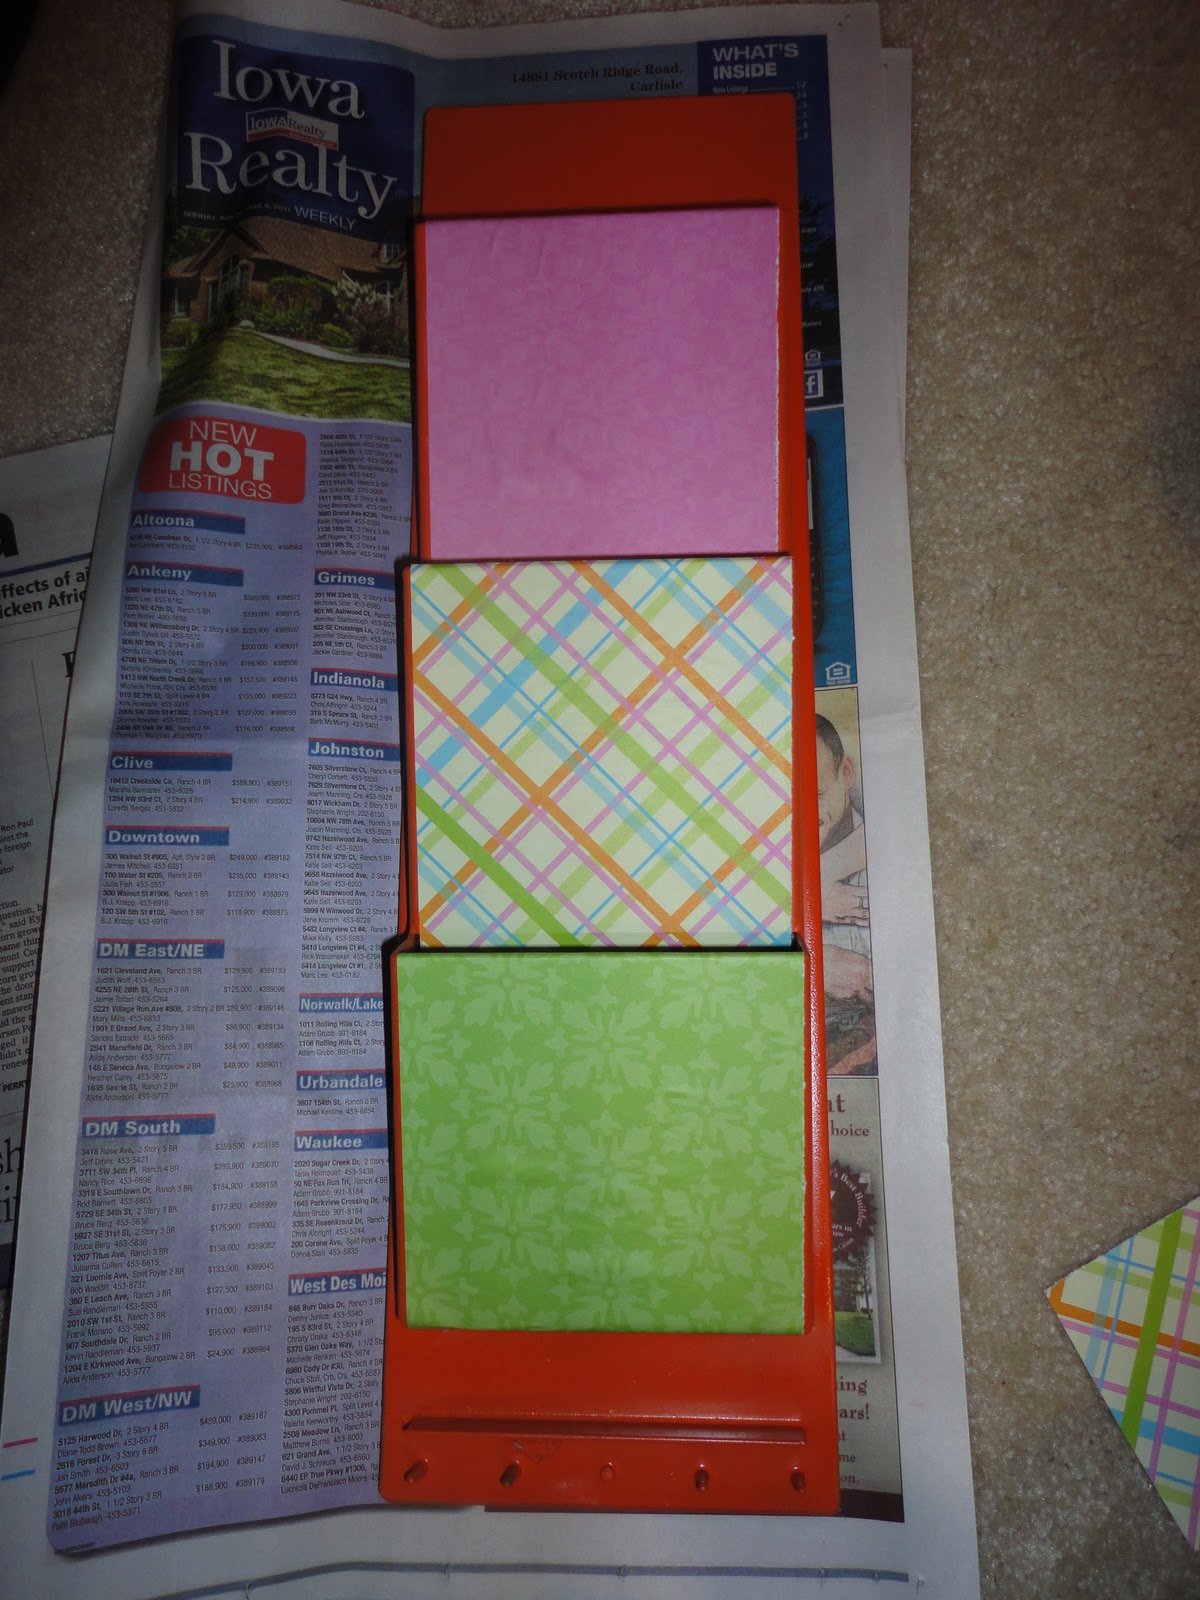
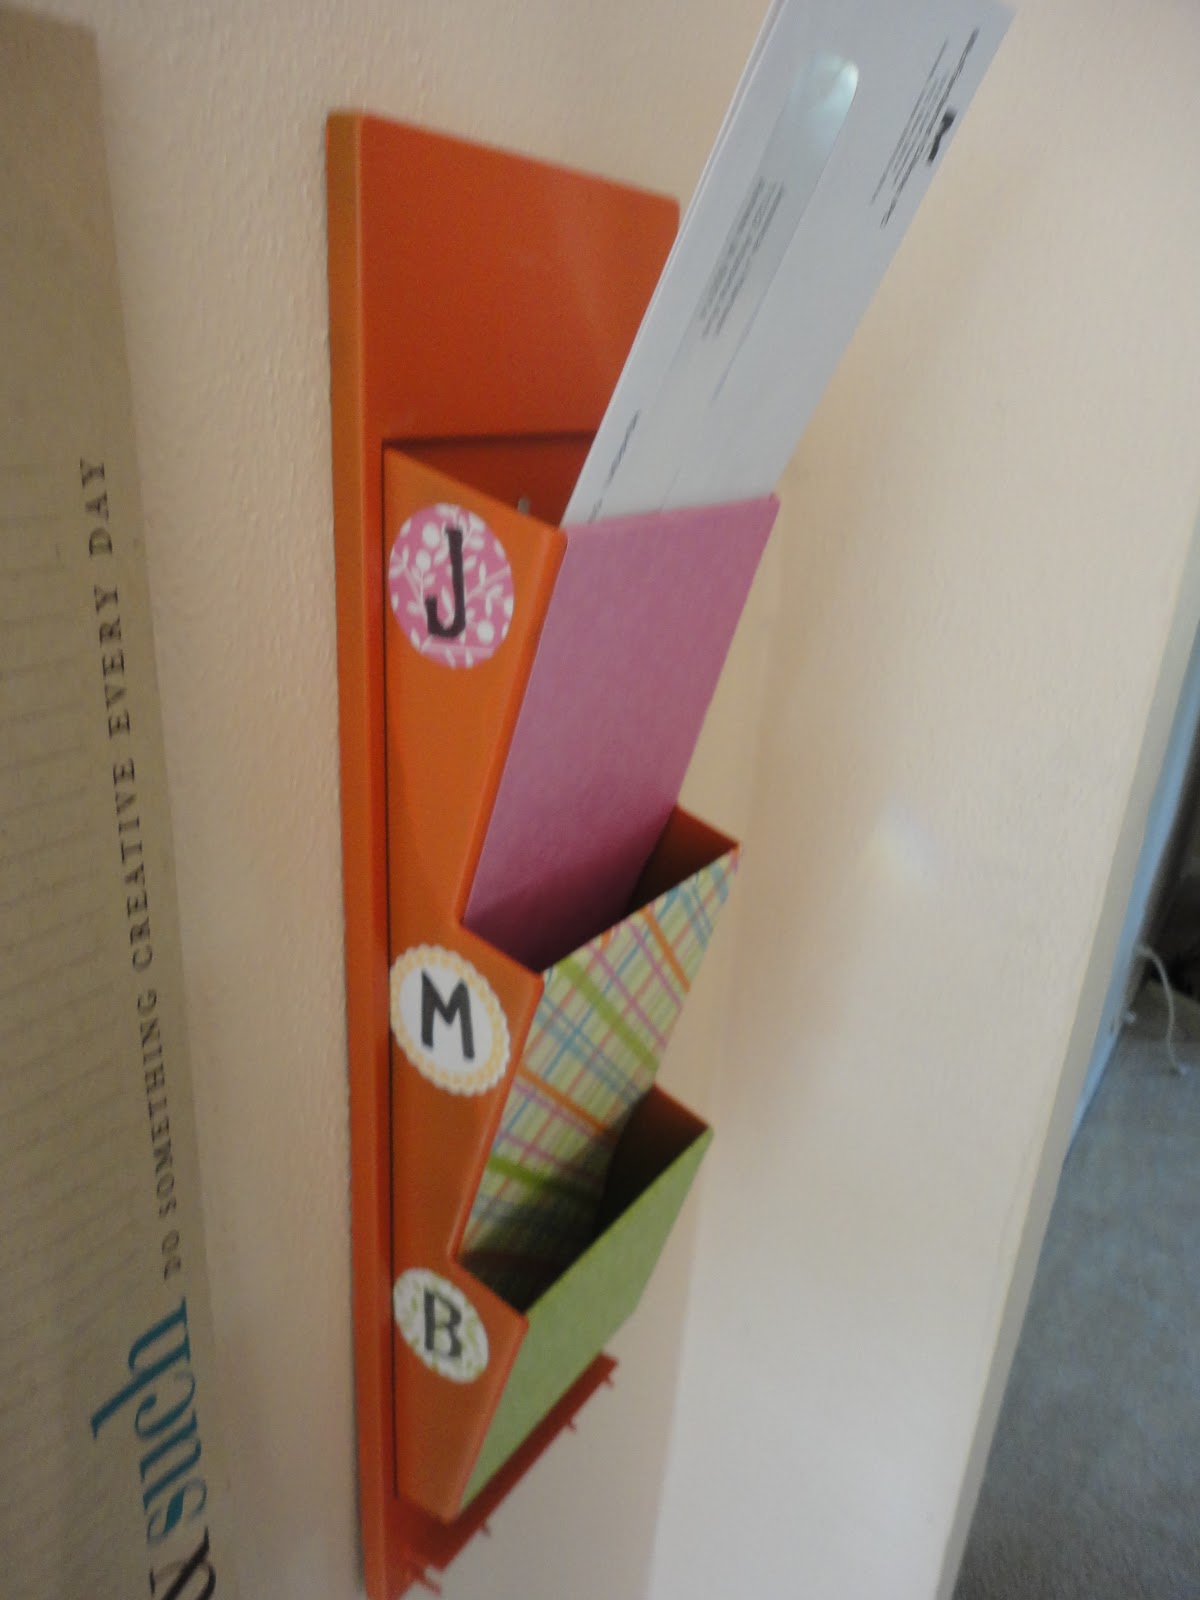
I nabbed this plastic mail sorter from the local Salvation Army for a mere .99 cents! I got a little too excited with the spray paint and forgot (ugh!) to take a picture of this mail sorter before painting it. Before the orange spray paint, this plastic was a mossy shade of green. The little floral embellishments on each pocket that say "Letters" and "Notes" were etched in silver.
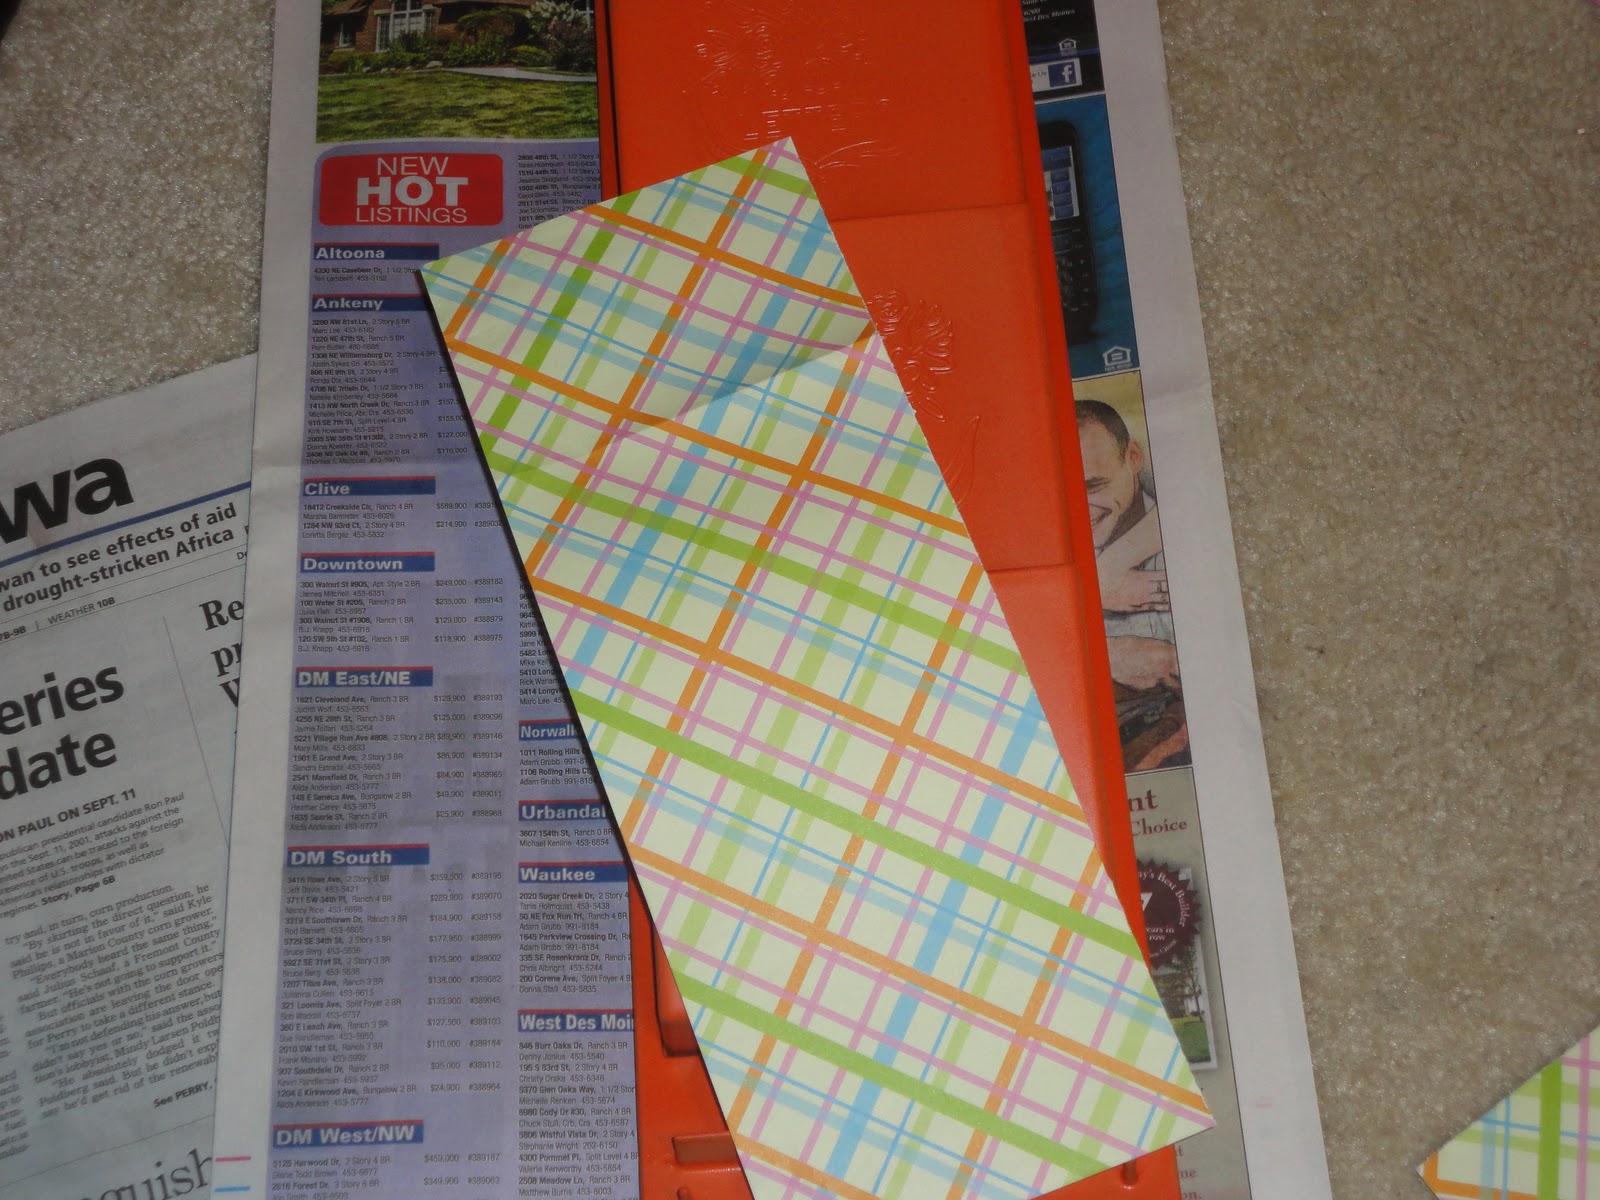
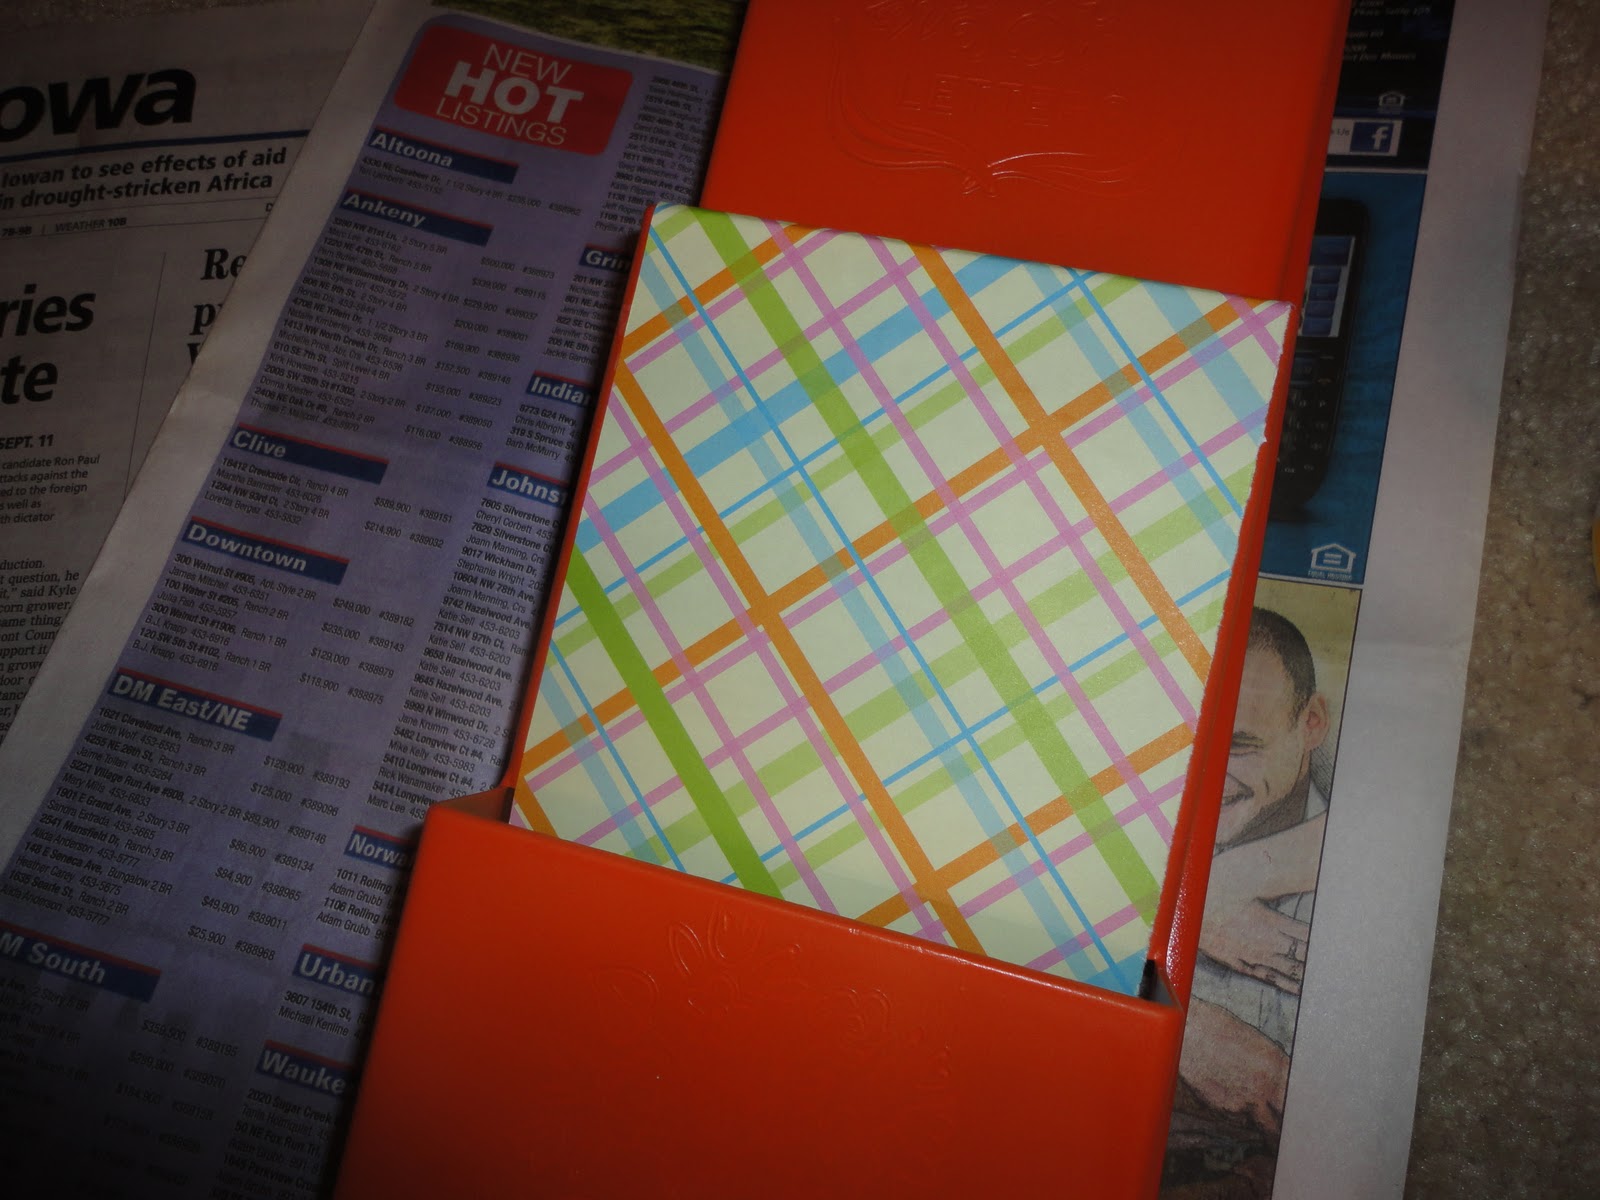
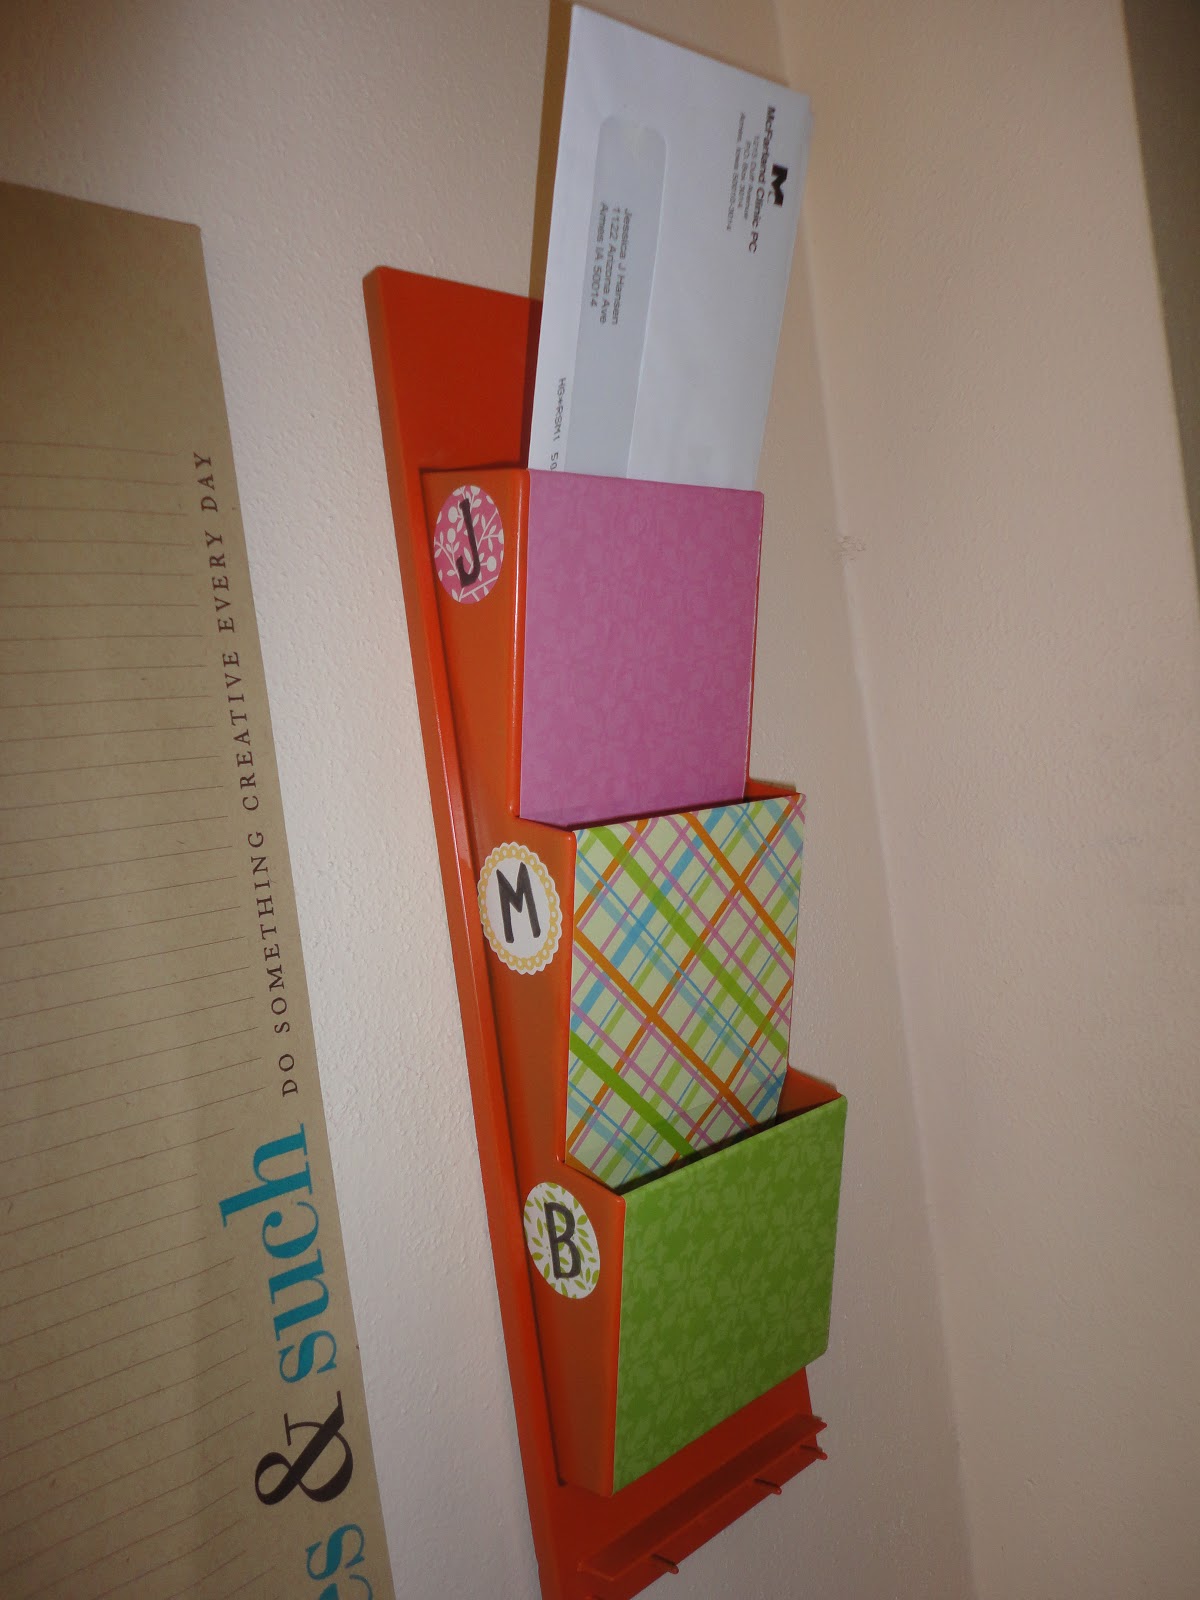
I then cut strips of prettily patterned scapbook paper down to the width of the pockets. I left the stripes long so that I could just tuck them into the mail pockets.
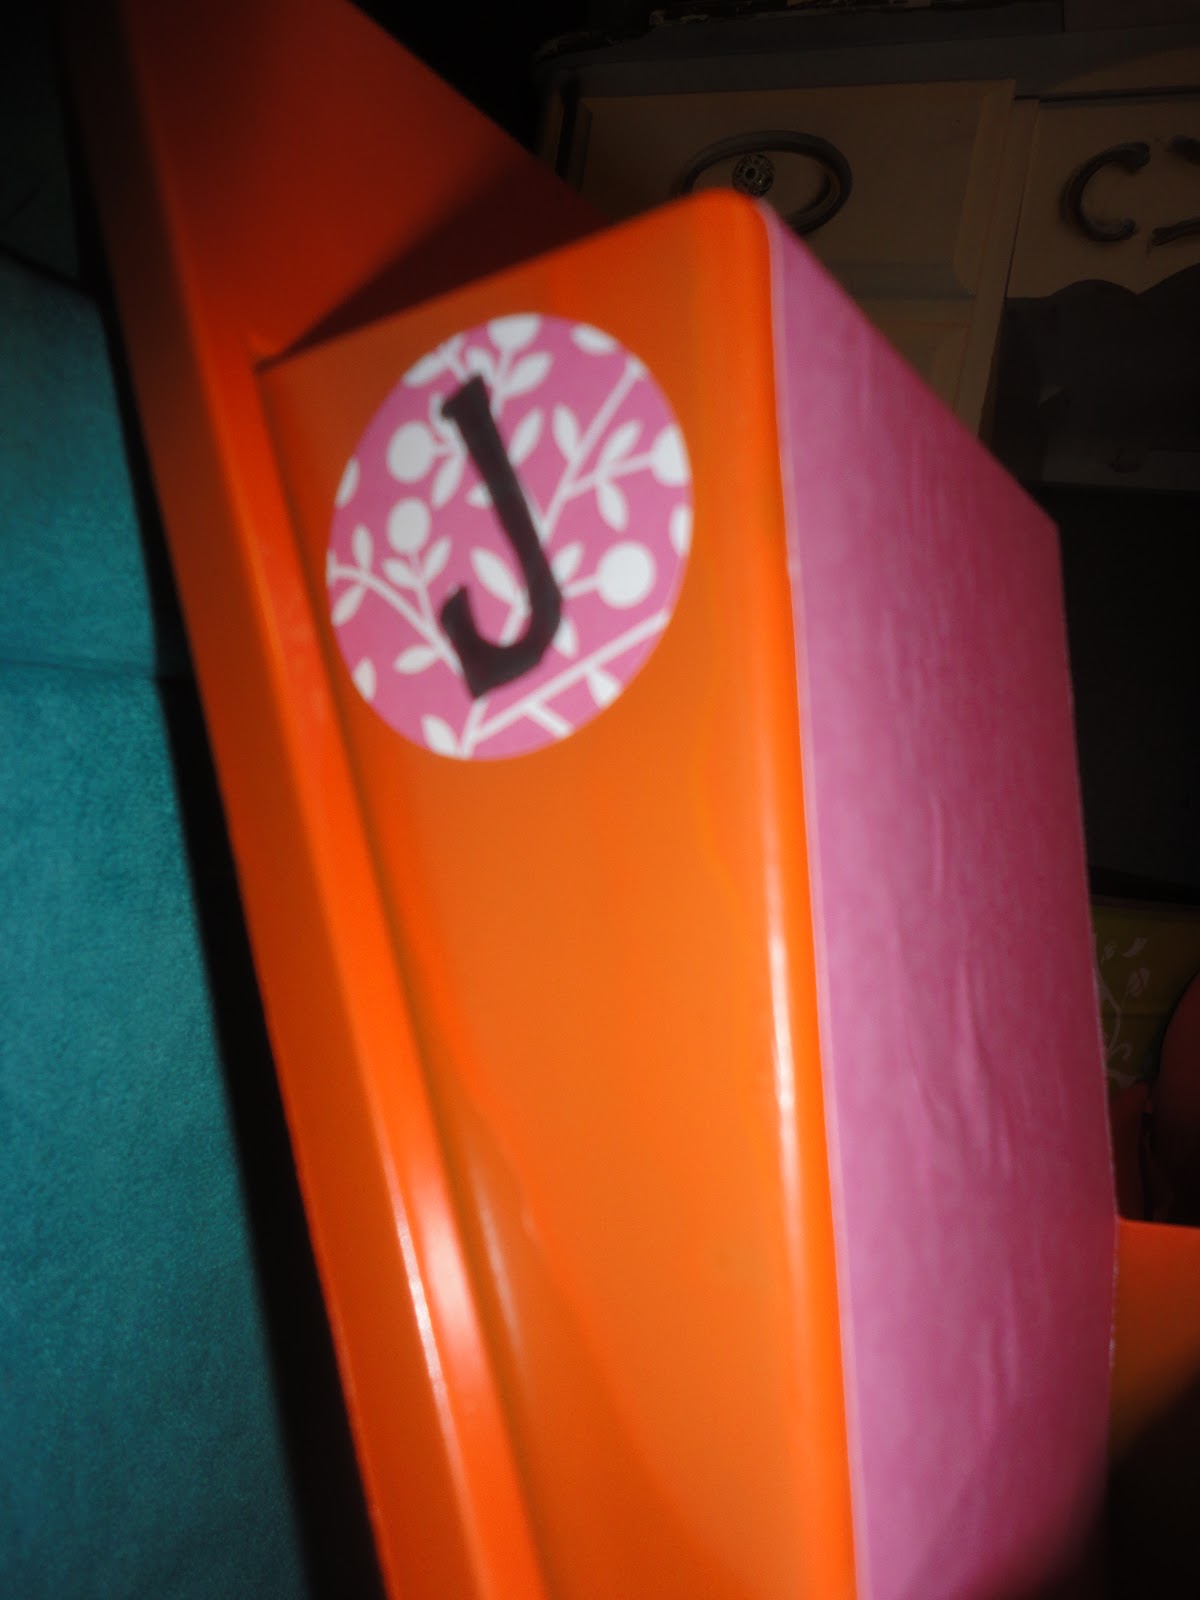
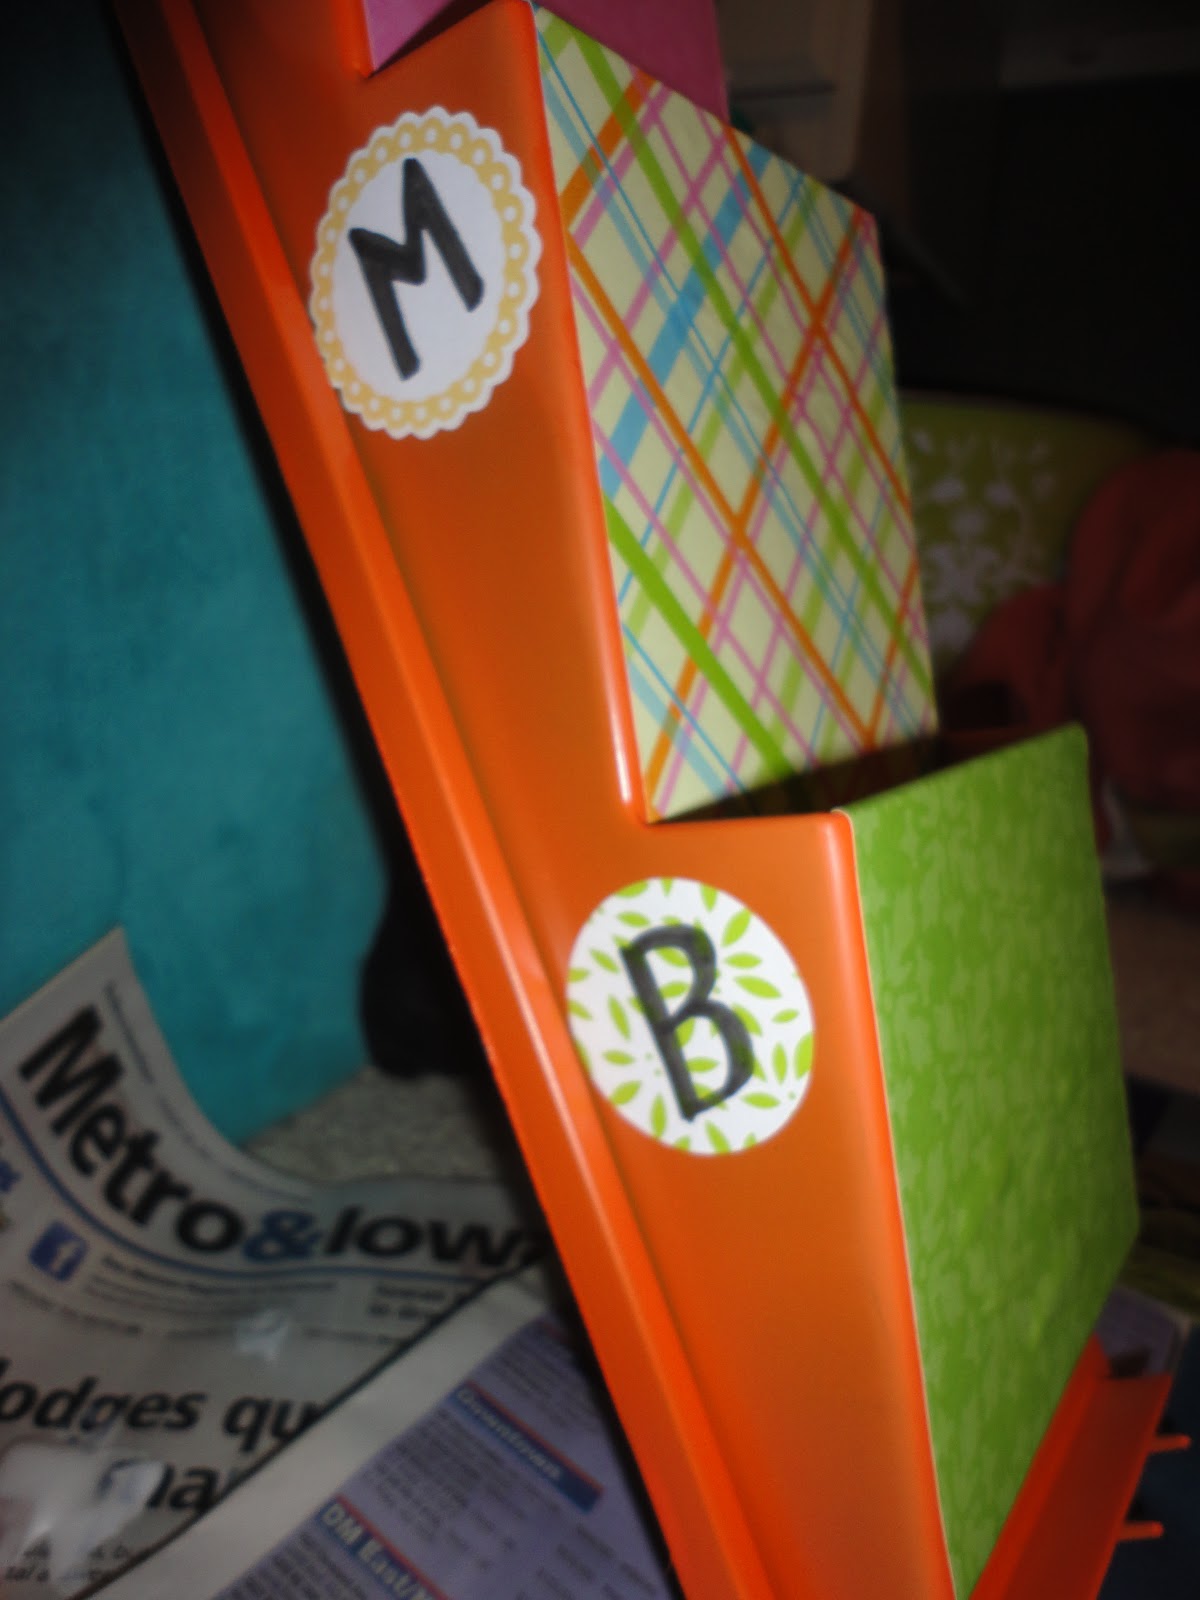
I wrote me and my roomies' initials on these cute round stickers and stuck them on the side of the mail sorter that we'd see the most.
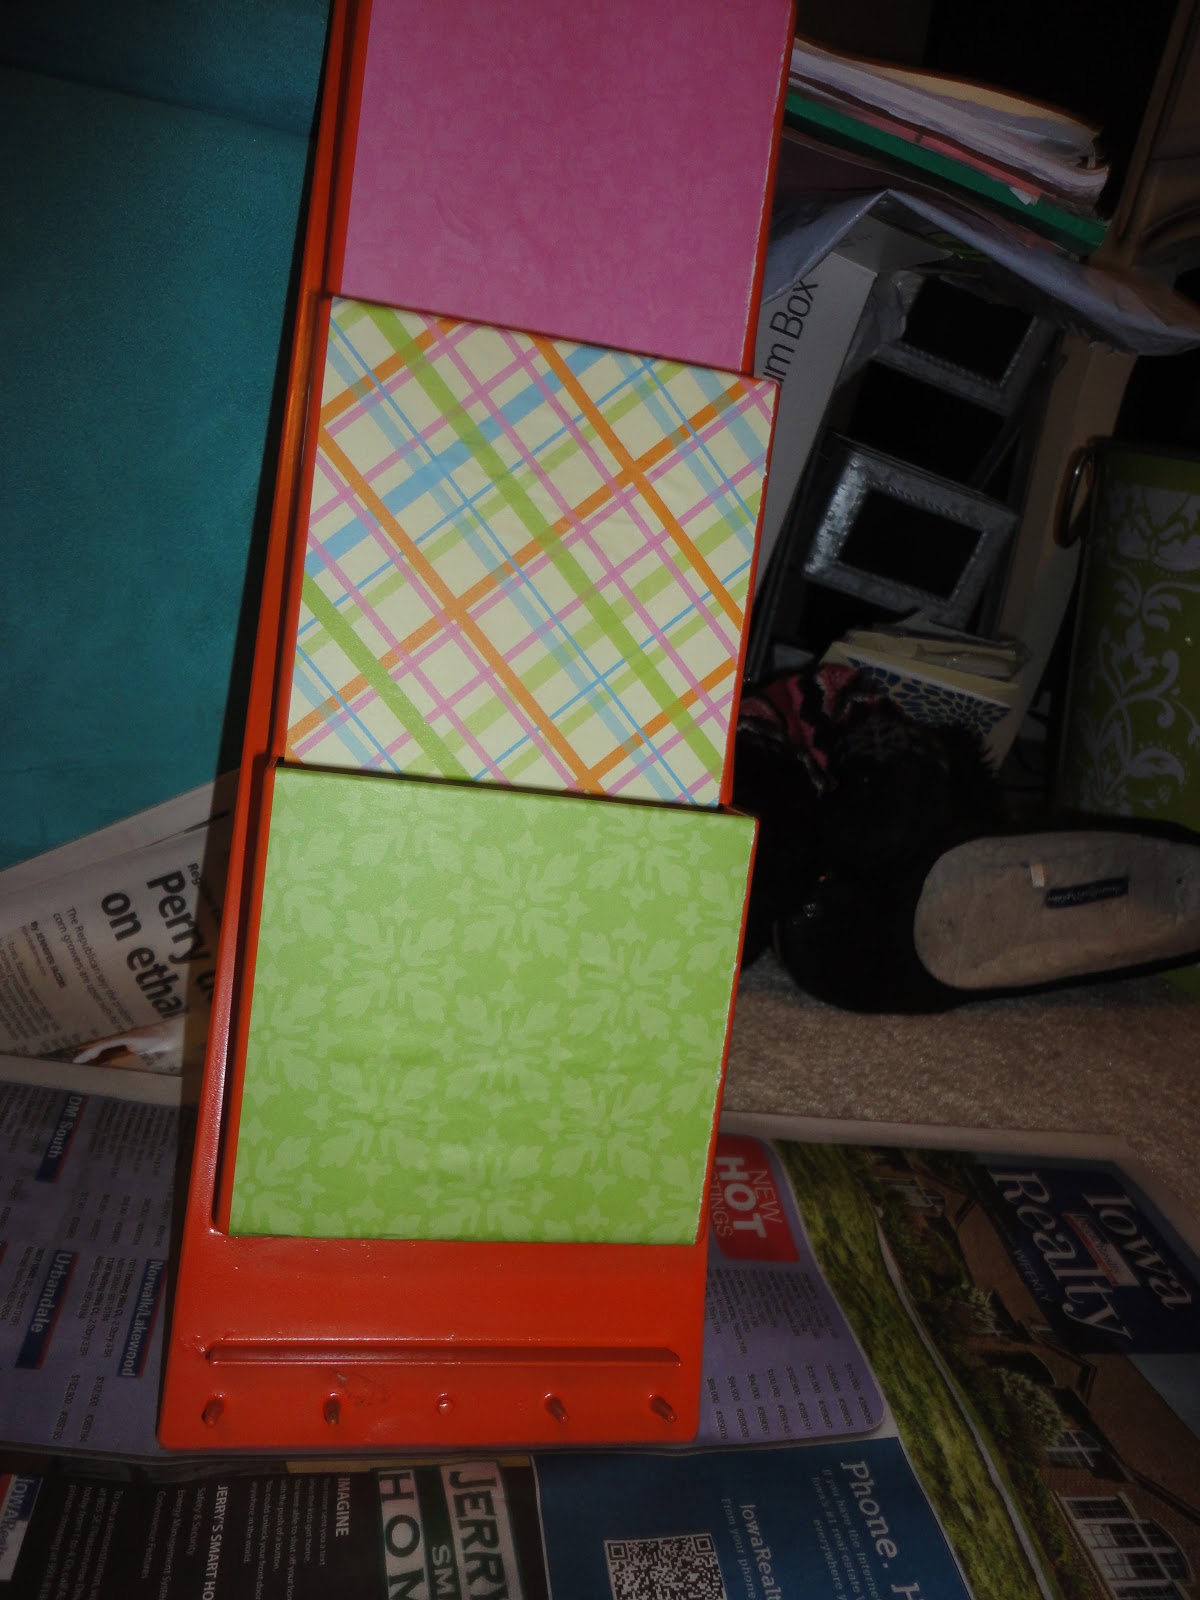
Here's the finished project before hanging it on the wall. (Excuse the messy floor of my bedroom... I still have organizing to tackle... heh.)
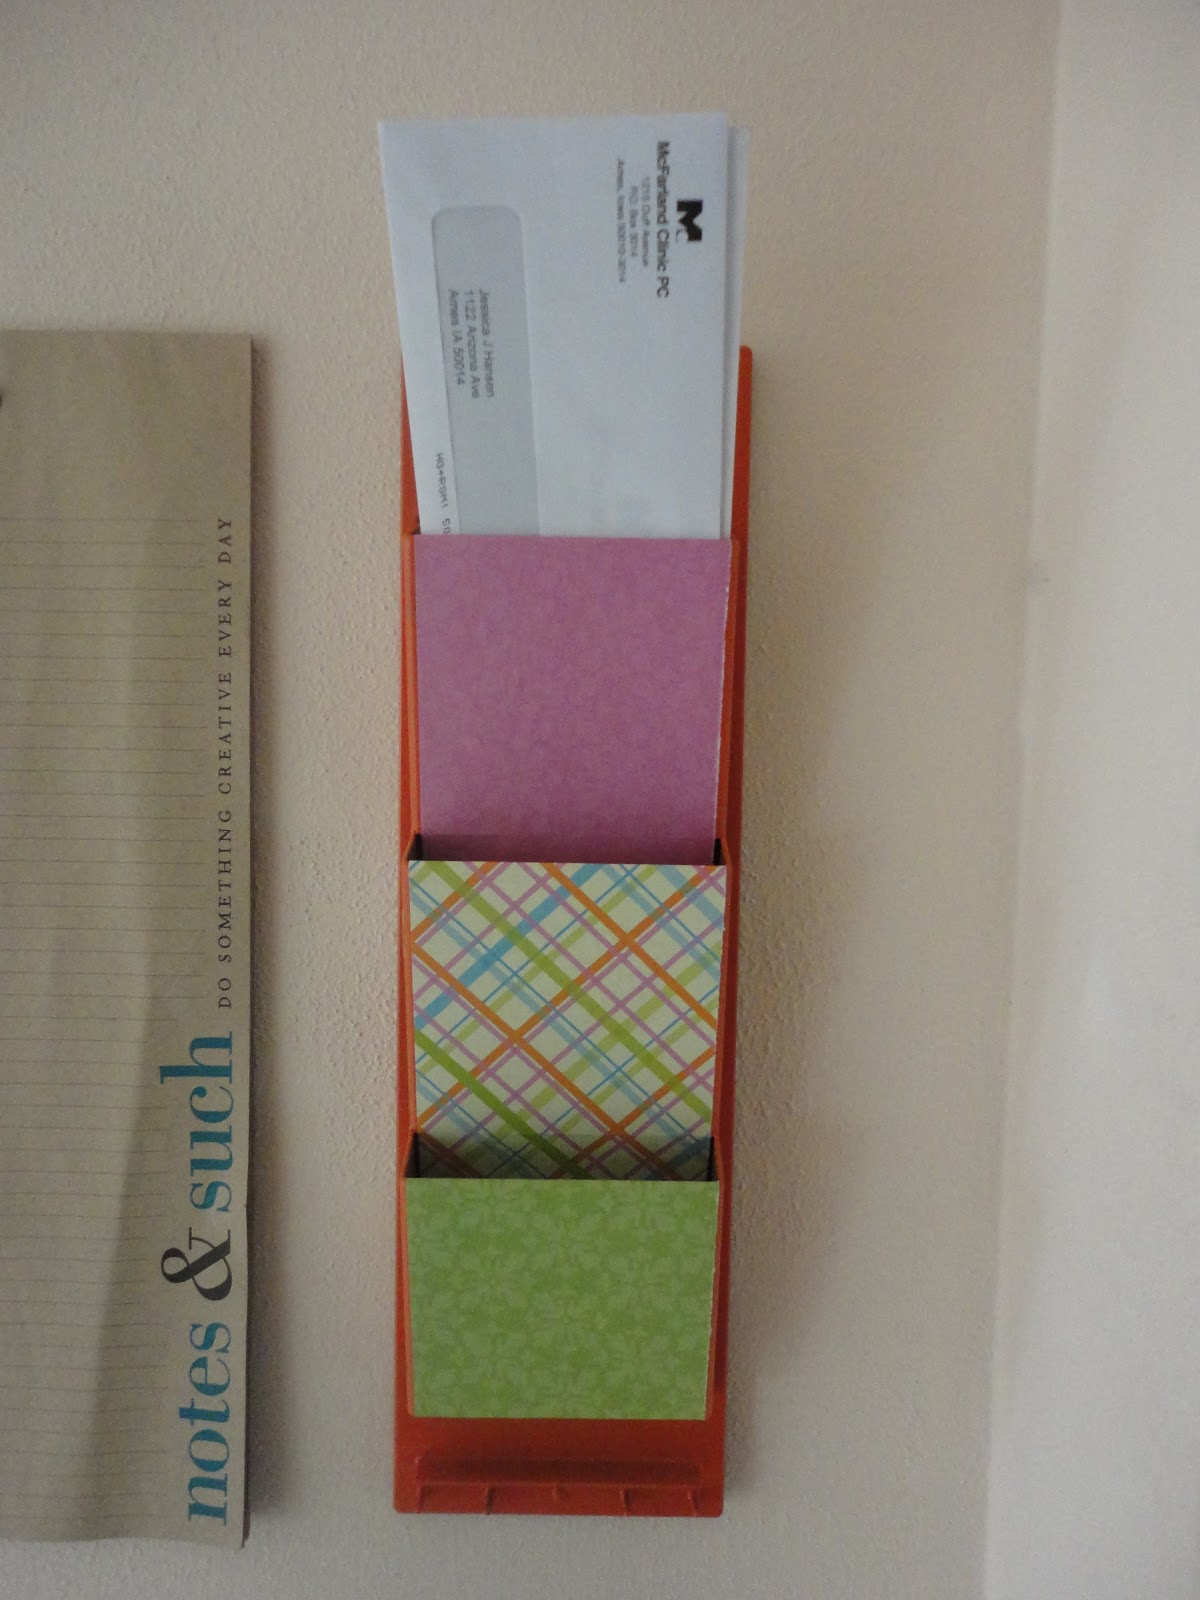
Love it. :)

If you decide to take on this project or a similar one, email me at [email protected] with your photos so I can share 'em!
Comments
Im going to Uni soon.
Definitely time to get thrifty!:P
Makeup for Biochemists
xx